


Snake Bites Piercing: Your Complete Guide to This Edgy Lip Style
Stack & Save: Extra 15% with Jissbon15
Jissbon15
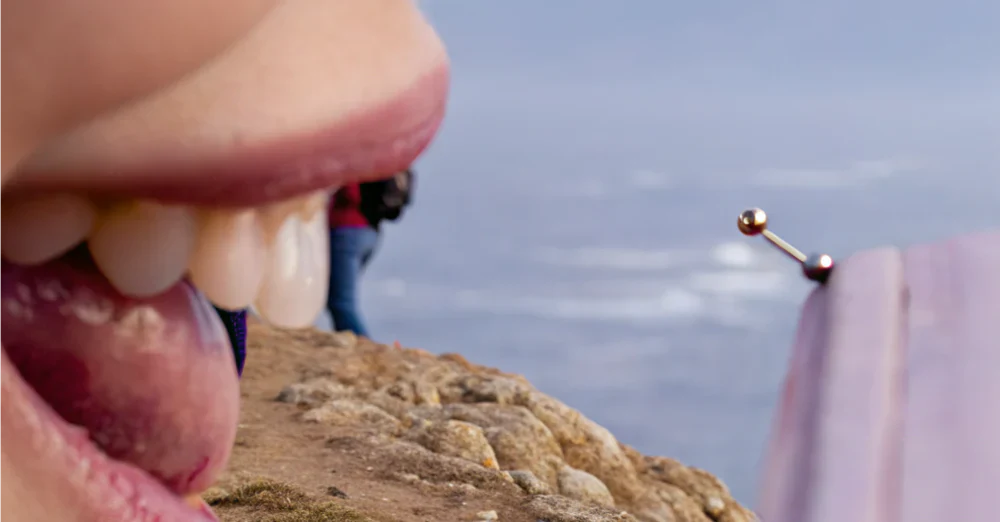
Snake bites piercings feature two symmetrical labret studs positioned on either side of your lower lip. The placement mimics the puncture marks from a snake's fangs, creating a bold, balanced aesthetic.This dual lip piercing style has become increasingly popular for those wanting an edgier look than a single lip piercing.
The symmetry creates visual interest while offering flexibility in jewelry choices.Whether you're considering getting snake bites or already have them and need care guidance, this guide covers placement details, healing expectations, jewelry selection, and maintenance practices to keep your piercings healthy.
How Much Do Snake Bites Piercings Cost?
Pricing varies widely depending on your location, the studio’s reputation, and the jewelry material you select. In most professional piercing studios, snake bites cost $80–$150 for both piercings together, which typically includes the procedure but not upgraded jewelry.
High-quality jewelry like implant-grade titanium or 14K gold increases the total cost, often bringing the final price to $120–$250. Choosing a qualified, experienced piercer is essential — cheaper shops may use low-quality jewelry or improper technique, increasing the risk of complications. Always prioritize cleanliness, licensing, and sterile equipment over cost savings.
Eating, Drinking & Speaking During Initial Healing
The first week after getting snake bites affects basic daily functions like eating and speaking. Swelling makes the lower lip feel heavier, and the long starter jewelry can tap against teeth if you move too quickly.
Eating slowly is essential. Soft foods help you avoid painful stretching or accidentally biting the jewelry. It’s normal to experience slight lisping or speech changes during the first few days; as swelling decreases and the jewelry is downsized, speech returns to normal.
Avoid biting down on the internal discs — doing so too often can cause tooth damage. Chew carefully on the sides or take smaller bites to reduce accidental pressure. Hot or spicy foods may burn during the first week, which is normal and temporary.
Who Should Consider Snake Bites Piercings

This piercing style appeals to specific aesthetics and personality types.
Perfect for those who:
- Want a symmetrical, balanced facial modification
- Appreciate alternative and punk-inspired styles
- Already have experience with oral piercings
- Can commit to 6-8 weeks of strict aftercare
- Have stable employment or environments accepting of visible piercings
- Enjoy experimenting with different jewelry combinations
Consider carefully if you:
- Play wind instruments professionally
- Have jobs requiring conservative appearance
- Experience frequent cold sores around the mouth
- Grind your teeth or have existing dental issues
- Tend to fidget with piercings during healing
- Have limited experience with body modifications
Great for enhancing:
- Alternative fashion aesthetics
- Punk or goth personal styles
- Symmetric facial features
- Edgy self-expression
- Lower face visual balance
Snake Bites vs. Other Lip Piercing Styles
Understanding the differences helps you choose what fits your look best.
|
Piercing Style |
Placement |
Jewelry Count |
Healing Time |
Visual Impact |
|
Snake Bites |
Both sides, lower lip |
2 studs |
6-8 weeks |
Symmetrical, bold |
|
Spider Bites |
Close together, one side |
2 studs |
6-8 weeks |
Asymmetrical, clustered |
|
Angel Bites |
Upper lip, both sides |
2 studs |
6-10 weeks |
Delicate, upper focus |
|
Cyber Bites |
Center upper + lower |
2 studs |
6-8 weeks |
Vertically centered |
|
Dahlia Bites |
Lip corners |
2 studs |
8-12 weeks |
Extended, dramatic |
|
Single Labret |
Center lower lip |
1 stud |
6-8 weeks |
Simple, classic |
Snake Bites:
- Best for: Balanced, edgy aesthetic
- Symmetry level: Perfect bilateral symmetry
- Versatility: High—mix jewelry styles
- Difficulty level: Moderate (two healing sites)
Spider Bites:
- Best for: Clustered, asymmetric look
- Symmetry level: Intentionally unbalanced
- Versatility: Moderate—limited spacing
- Difficulty level: Moderate (close proximity challenges)
Angel Bites:
- Best for: Softer, upper-lip emphasis
- Symmetry level: Perfect bilateral symmetry
- Versatility: High—complements other piercings
- Difficulty level: Moderate to high (upper lip sensitivity)
Dahlia Bites:
- Best for: Dramatic, extended smile appearance
- Symmetry level: Bilateral at corners
- Versatry: Low—limited jewelry options
- Difficulty level: High (longer healing, scar risk)
Anatomy and Placement Specifics

Precise placement ensures proper healing and aesthetic balance.
Standard Positioning
Snake bites sit on the lower lip, typically positioned about 1/4 to 1/2 inch from each corner of the mouth. The exact placement depends on your lip anatomy and facial proportions.
Your piercer will mark both sides before piercing to confirm symmetry. They'll check from multiple angles, ensuring the piercings align horizontally and complement your natural features.
Depth Considerations
The needle passes through the lower lip tissue at a slight angle, entering from the outside and exiting inside the mouth. Proper depth prevents jewelry from sitting too shallow (rejection risk) or too deep (gum damage risk).
Anatomical Variations
Thin lips: Piercings may sit closer to the lip edge. Smaller jewelry works better to prevent looking overcrowded.
Full lips: More tissue allows flexibility in placement. Can accommodate larger jewelry pieces comfortably.
Asymmetric lips: Your piercer adjusts placement to create visual balance rather than mathematical symmetry. The goal is what looks balanced, not necessarily identical measurements.
Frenulum Check
The lower labial frenulum (the thin tissue connecting your lower lip to your gums) runs vertically in the center. Snake bites avoid this area entirely since they're positioned on the sides, but your piercer still checks for any anatomical variations.
Step-by-Step Piercing Process
Knowing what happens reduces anxiety and helps you prepare.
Consultation and Assessment
Your piercer examines your lip anatomy, discusses placement options, and confirms you're a good candidate. They'll ask about medical history, allergies, and whether you've eaten recently (you should have).
Marking the Spots
Using a surgical marker, they mark both sides of your lower lip. You'll check the mirror to approve placement. Don't hesitate to request adjustments—this determines your final look.
Cleaning and Preparation
The piercer thoroughly sanitizes the entire lower lip area using antiseptic solution. They'll also rinse your mouth with antimicrobial mouthwash to minimize bacteria.
Clamping (Optional)
Some piercers use forceps to hold the tissue stable. Others prefer freehand technique. Both methods work—it's about the piercer's expertise and preference.
First Side Piercing
Using a hollow 14G or 16G needle, the piercer creates the first hole in a single, quick motion. The needle passes through the lip tissue, creating a clean channel. Initial jewelry gets inserted immediately following the needle.
Second Side Piercing
After securing the first piece of jewelry, they repeat the process on the opposite side. Most piercers complete both piercings in the same session rather than spacing them out.
Final Jewelry Installation
Initial jewelry is typically longer labret studs to accommodate swelling. The flat disc sits inside your mouth against the gums, while the decorative top shows on the outside.
Aftercare Instructions
Your piercer provides detailed cleaning instructions, discusses healing expectations, and answers any questions. Take photos of written instructions or ask them to email the aftercare protocol.
Pain Levels: What to Realistically Expect
Individual pain tolerance varies significantly, but most people rate snake bites at 4-6 out of 10.
During the Piercing
The needle puncture creates a sharp, intense sensation lasting 1-2 seconds per side. Many describe it as similar to a hard pinch or bee sting. The second piercing often feels slightly more intense since you're anticipating it.
Immediately After
Throbbing and warmth develop within minutes. Your lip feels swollen and tender. This immediate discomfort typically peaks within 2-4 hours, then gradually decreases.
First Week
Days 2-5 usually bring maximum swelling. Your lip may feel tight, and speaking or eating requires careful movements. The throbbing sensation transitions to a dull ache.
Weeks 2-4
Swelling decreases noticeably. Tenderness persists but becomes manageable. Accidentally bumping the jewelry still causes sharp pain, so continue being cautious.
Weeks 5-8
Most healing happens internally. External appearance improves significantly. Occasional sensitivity remains, especially when changing jewelry for the first time.
Pain Management Tips
- Take ibuprofen (not aspirin, which thins blood) as directed
- Apply ice packs to the outside of your lip for 10-minute intervals
- Avoid hot beverages and spicy foods
- Sleep with your head elevated to reduce overnight swelling
- Use a clean, cold compress before bed
Comprehensive Aftercare Protocol

Proper cleaning prevents infection and supports efficient healing.
External Cleaning (2x Daily)
Morning routine:
- Wash hands thoroughly with antibacterial soap
- Spray sterile saline solution directly on both piercings
- Let it sit for 30-60 seconds to loosen any dried discharge
- Gently wipe away residue with clean gauze
- Pat dry with disposable paper towels
Evening routine: Repeat the exact same process before bed. Consistency matters more than fancy products.
Internal Cleaning (After Every Meal)
Rinse your mouth with alcohol-free mouthwash or sea salt solution for 30-60 seconds. This removes food particles that can irritate the healing tissue inside your mouth.
For the first week, rinse after every time you eat or drink anything other than water.
What to Avoid
- Touching piercings with unwashed hands
- Rotating or twisting the jewelry (this damages forming tissue)
- Using alcohol-based products (too harsh, delays healing)
- Swimming in pools, oceans, or lakes
- Kissing or oral contact during initial healing
- Smoking or vaping (significantly slows healing)
- Drinking through straws (creates suction pressure)
- Eating crunchy, hard, or spicy foods
Diet Modifications
First week—stick to:
- Lukewarm soups and broths
- Smoothies and protein shakes
- Mashed potatoes or soft pasta
- Yogurt and pudding
- Cold foods like ice cream (helps with swelling)
Avoid entirely:
- Acidic foods (citrus, tomatoes, vinegar)
- Spicy seasonings
- Crunchy snacks that require extensive chewing
- Very hot beverages
- Alcohol
Jewelry Options for Snake Bites
Once healed, you can experiment with various styles to customize your look.
Initial Jewelry (Healing Period)
Labret studs: The standard choice. Features a flat disc backing that sits against your gums and a threaded decorative top. Initial length is longer (usually 5/8" to 3/4") to accommodate swelling.
Material should be implant-grade titanium or 14K+ gold. Avoid surgical steel during healing if you have any nickel sensitivity.
Post-Healing Options
Captive bead rings: Circular hoops with a removable ball. Create a more dramatic, punk aesthetic. Available in various diameters (3/8" to 1/2" most common).
Horseshoe rings: Curved barbells shaped like a U with balls on each end. Offer a bold look with flexibility to flip them up if needed.
Seamless rings: Continuous circles without visible closures. Sleek, minimalist appearance. Slightly trickier to insert.
Curved barbells: Gentle curve following lip contour. Less common for snake bites but some people prefer them.
Mixing Styles
One unique aspect of snake bites is mixing jewelry types—you might wear a stud on one side and a ring on the other, creating an asymmetric look despite symmetric placement.
Size and Gauge Guide
|
Gauge |
Thickness |
Usage |
|
16G |
1.2mm |
Smaller, delicate look |
|
14G |
1.6mm |
Standard, most common |
|
12G |
2mm |
Bolder, stretched option |
Length matters: Too short jewelry embeds into swelling. Too long jewelry catches on teeth and causes damage. After downsizing around week 6-8, most people wear 3/8" to 1/2" length.
Material Choices
Implant-grade titanium (ASTM F-136): Hypoallergenic, lightweight, won't tarnish. Best for sensitive skin or healing piercings. Available in anodized colors.
Solid gold (14K minimum): Biocompatible, elegant appearance. More expensive. Verify it's solid, not plated.
Niobium: Similar to titanium. Hypoallergenic, can be anodized. Less common but excellent for metal sensitivities.
Surgical steel: Affordable, durable. May contain nickel—avoid if you have allergies or during healing.
Avoid entirely:
- Acrylic or bioplast for long-term wear (harbor bacteria)
- Mystery metals or costume jewelry
- Anything labeled "nickel-free" without certification
Downsizing: When and Why It Matters
Switching to shorter jewelry after initial healing is crucial for oral health.
When to Downsize
Most people can safely downsize around 6-8 weeks, once swelling has completely resolved. Some may need to wait 10-12 weeks depending on healing speed.
Signs you're ready:
- No tenderness when touching jewelry
- No discharge or crusties
- Jewelry feels excessively long and mobile
- You can see significant space between the disc and your gums
Why It's Important
Long jewelry increases several risks:
- Tooth damage: The internal disc rubs against teeth, causing chips or enamel wear
- Gum recession: Constant pressure on gums makes them recede over time
- Catching: Longer bars catch on clothing, towels, and utensils
- Speech issues: Excessive length can create a lisp or affect pronunciation
Professional vs. DIY
For your first jewelry change, visit your piercer. They'll confirm complete healing, measure for proper length, and install new jewelry safely. After that first change, you can swap jewelry at home confidently.
Potential Complications and Solutions
Being aware of issues helps you respond quickly.
Infection warning signs:
- Intense, increasing pain (not decreasing)
- Thick, colored discharge (yellow or green)
- Excessive warmth around the piercing site
- Fever or swollen lymph nodes
- Red streaks extending from the piercings
Action: Contact your piercer immediately and see a healthcare provider. Don't remove jewelry—this can trap infection inside.
Embedding: When jewelry sinks into swollen tissue, the disc can become buried. This happens when initial jewelry is too short or swelling exceeds expectations.
Action: Return to your piercer urgently for longer jewelry installation.
Keloid or irritation bumps: Raised bumps around the piercing holes. Usually caused by trauma, poor jewelry quality, or irritation.
Action: Continue saline soaks, switch to higher-quality jewelry, avoid sleeping on the piercings, and be more gentle. If they persist beyond a few weeks, consult your piercer.
Gum recession: Gums pull back from teeth, exposing more root surface. Caused by jewelry rubbing against gums.
Action: Downsize to shorter jewelry immediately. Visit your dentist to assess damage. Consider switching to smaller-profile jewelry or removing the piercings if recession continues.
Tooth damage: Chips, cracks, or enamel wear from jewelry contact.
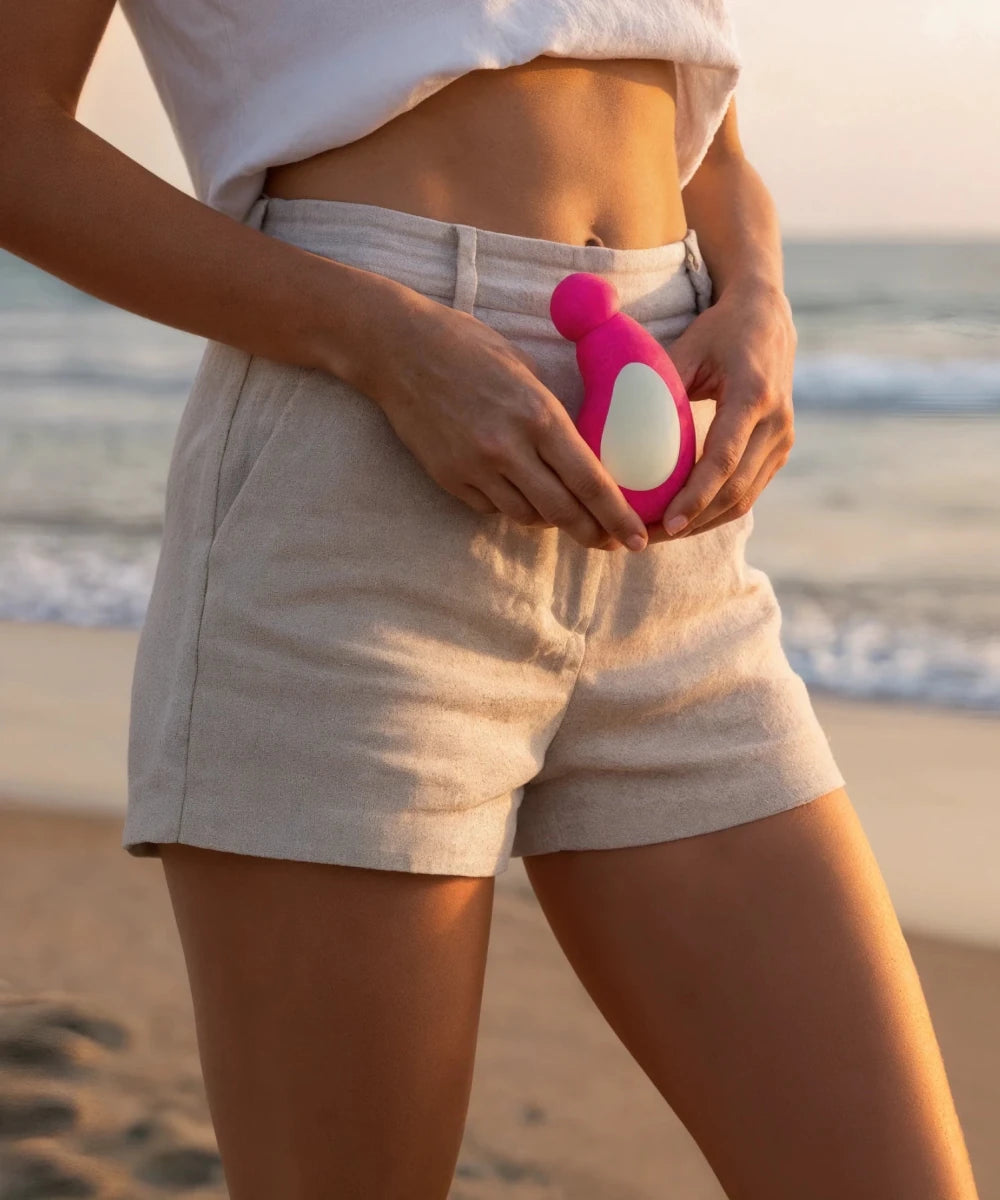
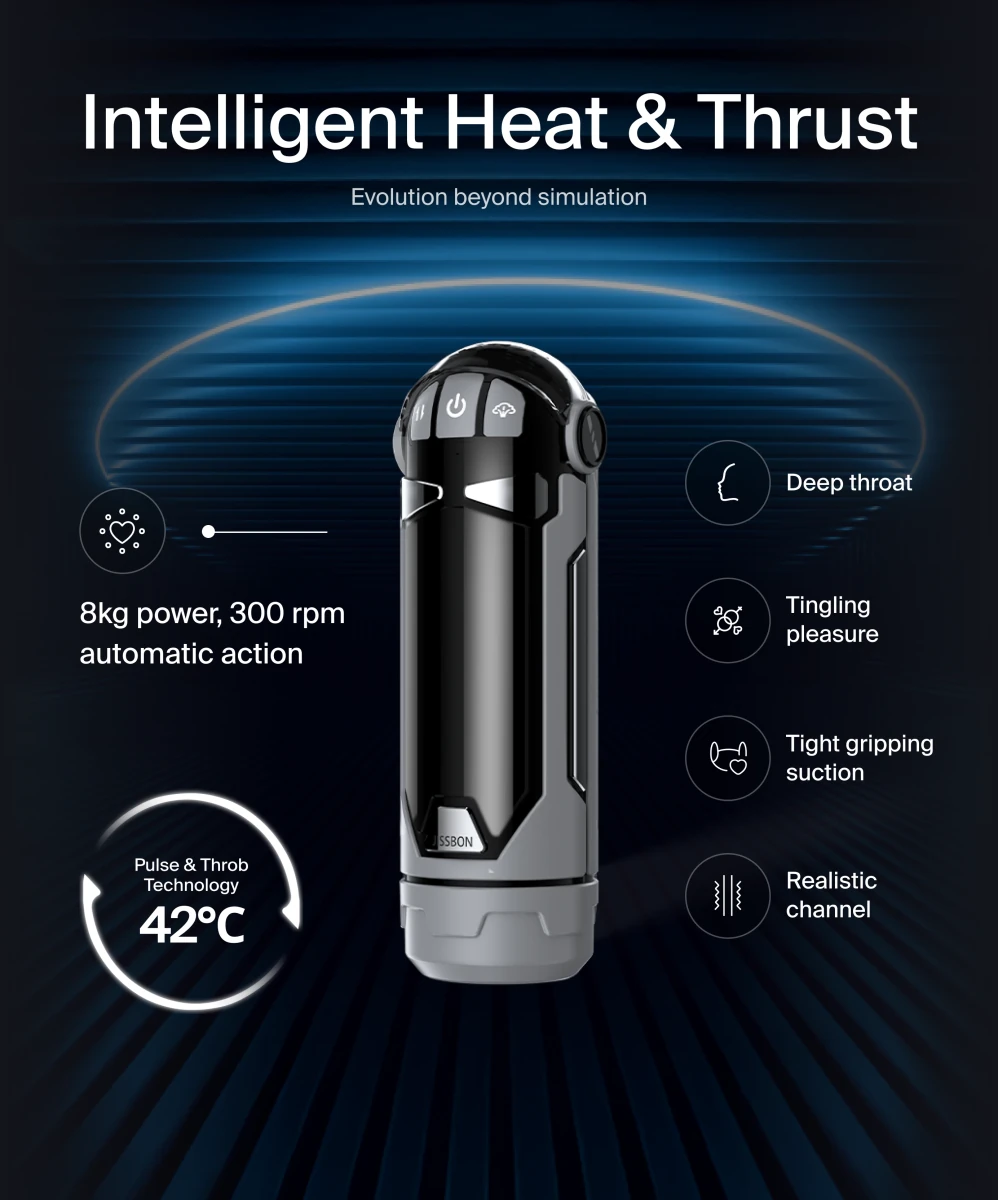
Action: Adjust jewelry size and placement. Use softer materials like <a href="https://jissbon.com/">Jissbon</a> offers for wellness products—though for piercings, stick to titanium or gold. See your dentist for any existing damage.
Long-Term Maintenance Habits
Even after healing completes, ongoing care protects your investment.
Daily Practices
- Rinse with water or mouthwash after eating
- Check jewelry tightness weekly (balls can unscrew)
- Remove buildup gently with clean hands
- Continue occasional saline rinses if you notice any irritation
Dental Considerations
Schedule cleanings every 6 months. Inform your dentist about your piercings so they can:
- Monitor for gum recession
- Check for enamel damage
- Clean around jewelry carefully
- Recommend protective measures if needed
Some dentists suggest temporarily removing jewelry during dental procedures to prevent damage or interference.
Lifestyle Adjustments
Sports: Use a mouthguard if playing contact sports. Even healed piercings can tear from impact.
Kissing: After healing, no restrictions apply. Just be gentle initially as you both adjust to the jewelry.
Medical procedures: Inform healthcare providers. Some imaging requires jewelry removal. Keep clean jewelry in a container if you need to take piercings out temporarily.
Frequently Asked Questions
How painful are snake bites compared to other piercings?
Most people find snake bites moderately painful — more intense than an earlobe or nostril piercing but less painful than cartilage or septum piercings. Because you’re getting two piercings in a row, the overall experience feels slightly more intense, but the sharp pain lasts only a moment. Swelling afterward usually causes more discomfort than the actual needle.
Do snake bites piercings affect kissing?
Only during the healing phase. Once fully healed and downsized, kissing feels normal again. Partners may need a brief adjustment period to avoid bumping the jewelry, but most people return to comfortable kissing within a few weeks. Rings tend to change the sensation more than studs, so choose jewelry based on comfort and preference.
Can I get snake bites if I already have sensitive teeth or gums?
You can, but you must be cautious and work closely with an experienced piercer. People with gum recession or enamel erosion are at higher risk for complications. Proper downsizing and smaller jewelry profiles are essential. Your dentist can help monitor tooth health once the piercings are healed.
How do I sleep with new snake bites piercings?
Sleeping on your back is ideal because direct pressure on the lip increases swelling and irritation. If you naturally roll to your side, use extra pillows to stabilize your head. Avoid sleeping face-down, as pressure can cause embedding or trauma.
What exactly are snake bites piercings?
Snake bites piercings consist of two symmetrical labret studs placed on opposite sides of the lower lip. The name comes from their resemblance to snake fang punctures. This bilateral placement creates a balanced, edgy aesthetic popular in alternative fashion and punk styles. Unlike spider bites (which sit close together on one side), snake bites emphasize symmetry and spacing.
How long do snake bites take to heal completely?
Typical healing time ranges from 6-8 weeks for external tissue, though complete internal healing may take 3-4 months. Individual healing varies based on aftercare consistency, overall health, diet, and whether you smoke. Following strict cleaning protocols and avoiding trauma accelerates the process. Most people can downsize jewelry around week 6-8 once swelling fully resolves.
Do snake bites piercings hurt a lot?
Pain levels vary individually, but most rate it 4-6 out of 10. The actual needle puncture lasts only 1-2 seconds per side and feels like a sharp pinch. Post-piercing soreness and swelling cause more extended discomfort, especially during days 2-5 when swelling peaks. Proper pain management with ice, elevation, and ibuprofen helps significantly. The second piercing often feels slightly more intense due to anticipation.
What jewelry works best for snake bites?
Initial jewelry should be implant-grade titanium or 14K+ gold labret studs with flat disc backings. These minimize allergic reactions and sit comfortably inside the mouth. After healing, you can switch to captive bead rings, horseshoe rings, seamless hoops, or mix styles between sides. Standard gauges are 14G or 16G, with lengths between 3/8" to 1/2" after downsizing from initial healing jewelry.
Can snake bites damage my teeth or gums?
Yes, improper jewelry size or placement can cause gum recession and tooth enamel damage over time. The internal disc rubbing against teeth and gums creates this risk. Prevent damage by downsizing to appropriate lengths after healing, choosing smooth jewelry materials, and scheduling regular dental check-ups. If you notice recession or sensitivity, consult both your piercer and dentist immediately.
How do I clean snake bites piercings properly?
Clean externally twice daily with sterile saline solution—spray directly on piercings, let sit 30-60 seconds, wipe gently with gauze, and pat dry. Clean internally by rinsing with alcohol-free mouthwash or sea salt solution after every meal and drink (except water). Never use alcohol-based products or rotate jewelry during healing. Continue occasional cleaning even after healing completes to prevent buildup and irritation.
Final Thoughts
Snake bites piercings offer a bold, symmetrical aesthetic that enhances alternative style expression. Success depends on choosing an experienced piercer, committing to 6-8 weeks of diligent aftercare, and making smart jewelry choices.
The dual nature of this piercing creates unique opportunities for mixing jewelry styles and creating personalized looks. While they require more care than single piercings due to managing two healing sites simultaneously, the striking visual result appeals to many.
Before committing, honestly assess your lifestyle, job requirements, and dedication to proper maintenance. When approached with realistic expectations and responsible care, snake bites become a lasting form of self-expression you can enjoy for years.


Looking for something else?

Where to Hide Sex Toys: 15 Discreet Storage Ideas
LEARN MORE
Playing with Vibrator: Complete Solo Guide & Tips
LEARN MORE
Sex Positions from Behind: 8 Beyond Doggy Style
LEARN MORE
What Does a Vulva Taste Like? Facts & Myths Explained
LEARN MORELooking for something else?

Straddle Sex Position: 7 Variations & Tips
LEARN MORE
Mistress Slave Relationship in BDSM: Complete Guide
LEARN MORE
Sensual Domination: Guide to Affectionate Power Play
LEARN MOREYou may also like
20% off

20% off

20% off

20% off

20% off

20% off

Further reading

Understanding Smoking Fetish: The Erotic Appeal of Cigarettes

Deep Penetration Orgasm: A-Spot, G-Spot & Techniques
Vibrator Bondage: BDSM Guide to Restrained Pleasure