


Ear Piercing Chart: Complete Guide to Locations, Gauge Sizes & Healing Times
Stack & Save: Extra 15% with Jissbon15
Jissbon15
An ear piercing chart maps the various placement options across your ear anatomy, from simple lobe piercings to complex cartilage arrangements. Understanding precise locations, appropriate gauge sizes, healing timelines, and compatible jewelry helps you plan your perfect ear curation.
Whether you're getting your first piercing or building a constellation of multiple placements, this comprehensive chart and guide covers everything from anti-tragus to industrial piercings.
Pain Ranking: Least to Most Intense Ear Piercings
Pain varies, but most people experience similar patterns across ear anatomy. Soft tissue heals quickly and hurts less; firm cartilage requires more pressure and produces sharper sensations.
Least painful areas:
The earlobes sit at the bottom of the ear and are made of soft tissue, making them the gentlest piercings. Upper lobe and low-helix piercings also fall into the mild range because cartilage is thinner and easier to access.
Moderately painful areas:
Piercings like the tragus, forward helix, auricle, and conch create a deeper pressure sensation but rarely linger beyond a few seconds. These areas are popular because the pain is manageable and the look is versatile.
Most painful areas:
The rook, snug, and industrial placements involve thick cartilage or multiple piercings at once. The sensation is sharper, and healing demands more patience. While more intense during the moment, many people find the unique aesthetic worth the brief discomfort.
What Different Ear Piercing Placements Symbolize Aesthetically
Though ear piercings don’t carry universal symbolic meaning, certain placements have become culturally associated with specific aesthetics. Lobe piercings often signal classic, minimalist style, while helix and forward helix piercings lean toward a subtle, modern look. The tragus has become synonymous with fashion-forward jewelry trends, appealing to people who enjoy micro-gems and minimalist studs.
More dramatic options like conch, daith, rook, and industrial piercings suggest a bold, alternative style. When combined thoughtfully, different placements help express personality, balance ear proportions, and create a curated ear that feels uniquely you.
Complete Ear Piercing Location Chart
|
Piercing Type |
Location |
Gauge Size |
Healing Time |
Pain Level (1-10) |
|
Standard Lobe |
Center of earlobe |
20G-18G |
6-8 weeks |
2-3 |
|
Upper Lobe |
Higher on earlobe |
20G-18G |
6-8 weeks |
2-3 |
|
Helix |
Upper outer cartilage rim |
16G-18G |
3-9 months |
5-6 |
|
Forward Helix |
Upper front cartilage near face |
16G-18G |
3-9 months |
6-7 |
|
Tragus |
Cartilage flap covering ear canal |
16G-18G |
3-9 months |
5-6 |
|
Anti-Tragus |
Cartilage above earlobe, opposite tragus |
16G-18G |
6-12 months |
6-7 |
|
Daith |
Innermost cartilage fold above canal |
14G-16G |
6-12 months |
7-8 |
|
Rook |
Ridge between daith and forward helix |
16G |
6-12 months |
7-8 |
|
Snug |
Inner middle cartilage ridge |
16G |
6-12 months |
7-8 |
|
Conch (Inner) |
Center ear bowl cartilage |
14G-16G |
6-12 months |
6-7 |
|
Conch (Outer) |
Outer edge of ear bowl |
14G-16G |
6-12 months |
6-7 |
|
Industrial |
Two helix points connected by barbell |
14G-16G |
6-12 months |
8-9 |
|
Auricle |
Middle outer cartilage between helix and lobe |
16G-18G |
3-9 months |
5-6 |
|
Orbital |
Two adjacent holes connected by ring |
16G-18G |
3-9 months |
5-6 |
Note: Healing times and pain levels vary by individual. These represent typical ranges.
Understanding Ear Anatomy for Piercing Placement
Key Ear Structures
Lobe (Lobule):
- Soft, fleshy lower portion without cartilage
- Most blood flow of any ear area
- Heals fastest due to vascularity
- Can accommodate multiple piercings
- Least painful placement option
Helix:
- Outer upper rim cartilage
- Runs from top of ear down to where cartilage meets lobe
- Popular for single or multiple stacked piercings
- Moderate healing time and pain
Tragus:
- Small triangular cartilage flap protecting ear canal entrance
- Thicker cartilage requiring more pressure to pierce
- Limited surface area (one piercing maximum typically)
- Popular for subtle, close-to-face jewelry
Conch:
- Large bowl-shaped cartilage in ear center
- Named for resemblance to conch shell
- Inner conch (center) vs. outer conch (edge) placements
- Can accommodate studs or larger hoops
Daith:
- Innermost cartilage fold curving above ear canal
- Difficult-to-access location requiring skilled piercer
- Associated with migraine relief (anecdotal, not scientifically proven)
- Limited to curved barbells or rings
Rook:
- Prominent cartilage ridge in upper inner ear
- Located between daith and forward helix
- Challenging angle for piercing
- Often more painful due to thickness
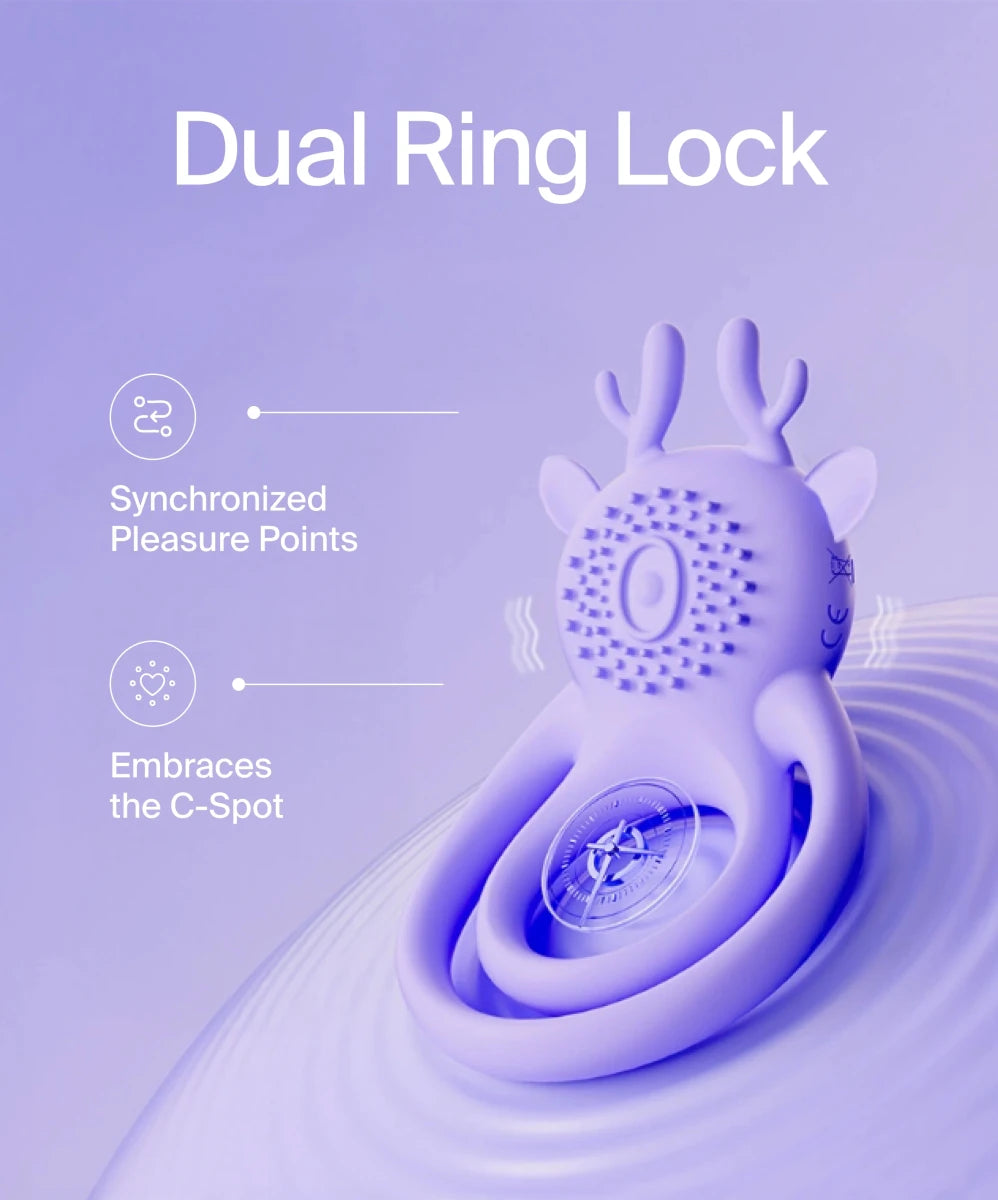
Similar to choosing precise stimulation points with clitoral vibrators or G-spot vibrators, ear piercing placement requires understanding individual anatomy for optimal results.
Gauge Size Guide: What the Numbers Mean

Understanding Gauge Measurements
Gauge (G) measures jewelry thickness using inverse numbering—higher numbers = thinner jewelry.
Standard ear piercing gauges:
- 20G (0.81mm) – Thinnest; standard lobe piercings, delicate jewelry
- 18G (1.0mm) – Common lobe and helix piercings
- 16G (1.2mm) – Most cartilage piercings, slightly sturdier
- 14G (1.6mm) – Thicker cartilage like daith, conch, industrial
- 12G (2.0mm) – Stretched lobe piercings or thick cartilage
- 10G+ (2.4mm+) – Gauge stretching territory
Why Gauge Size Matters
Choosing appropriate gauge affects:
- Jewelry compatibility – Can't insert 14G jewelry in 18G hole
- Structural integrity – Thicker gauges less likely to tear through cartilage
- Healing success – Appropriate gauge for tissue thickness prevents complications
- Future flexibility – Easier to size up than down
Professional piercers select gauge based on:
- Piercing location anatomy
- Tissue thickness at site
- Intended jewelry type
- Your future plans for stretching
Can You Change Gauge Sizes?
Sizing up (stretching):
- Gradual process over months/years
- Typically done with lobe piercings
- Requires patience to avoid tears and blowouts
- Not recommended for most cartilage locations
Sizing down:
- Difficult and often unsuccessful
- Cartilage rarely shrinks significantly
- May require surgical intervention for substantial reduction
Best practice: Choose your gauge carefully at initial piercing.
Lobe Piercings: The Foundation
Standard Lobe Placement
Location specifics:
- Center of earlobe flesh
- 1-2cm from bottom edge
- Allows room for additional piercings above
Healing timeline:
- 6-8 weeks for basic healing
- 3 months for complete healing
- Fastest-healing ear piercing
Jewelry options:
- Studs (flat back or butterfly back)
- Small hoops (after healing)
- Dangles and drops
- Huggie hoops
- Threader earrings
Multiple Lobe Piercings
Upper lobe (second/third holes):
- Stacked vertically above first piercing
- Space 8-10mm apart for comfortable jewelry
- Same healing time as standard lobe
Transverse lobe:
- Horizontal through earlobe thickness
- Surface-to-surface piercing
- Requires specialized curved barbell
- More complicated healing (3-6 months)
Cartilage Piercings: Popular Locations Explained

Helix Variations
Standard helix:
- Upper outer rim at top curve
- Most popular cartilage location
- Works well for hoops or studs
Forward helix:
- Front upper rim near face
- Closer to temple area
- Beautiful with small gems or flat-back studs
- Can do double or triple forward helix
Mid-helix:
- Halfway down outer rim
- Between standard helix and auricle
- Less common but versatile placement
Low helix:
- Just above where cartilage meets lobe
- Transitions nicely between lobe and upper ear
Inner Ear Cartilage
Tragus details:
- Projects over ear canal opening
- Usually 5-8mm wide (limited real estate)
- 16G or 18G standard
- Labret studs most common jewelry
Anti-tragus specifics:
- Small bump above earlobe, opposite tragus
- Often smaller than tragus
- Can be too small to pierce on some anatomy
- Curved barbells or rings work best
Daith placement:
- Innermost fold right above ear canal
- Requires specific curved needle technique
- Must be done by experienced piercer
- Exclusively rings or curved barbells (straight jewelry won't fit)
Challenging Cartilage Locations
Rook piercing:
- Prominent ridge in upper inner bowl
- Requires curved needle for angle
- Thicker cartilage = more discomfort
- Limited to curved barbells initially
Snug piercing:
- Inner middle cartilage parallel to outer rim
- Must have pronounced ridge (not all ears suitable)
- Prone to irritation due to angle
- Healing can be difficult
Conch options:
- Inner conch: Deep center bowl; fits large studs
- Outer conch: Edge of bowl; accommodates hoops that circle outer ear
- Both require 14G-16G for stability
- 6-12 month healing period
Industrial and Combination Piercings

Industrial Bar Piercing
Standard industrial:
- Connects two helix points (usually forward and standard helix)
- Single long barbell (30-38mm typical length)
- Both holes must angle correctly for barbell to sit flush
- 14G standard for structural strength
Anatomy requirements:
- Sufficient ear length (minimum 35mm)
- Proper cartilage ridge structure
- Correct angle between entry/exit points
- Not everyone's anatomy suits industrial piercings
Healing challenges:
- Two healing cartilage wounds simultaneously
- Bar can get snagged easily during healing
- Sleep position critical (can't sleep on pierced side)
- Full healing 9-12 months minimum
Orbital Piercings
What makes it orbital:
- Two adjacent piercings connected by single ring
- Ring "orbits" the cartilage between holes
- Can be done on various ear locations
Common orbital placements:
- Lobe orbital (two lobe holes)
- Helix orbital (two helix holes)
- Conch orbital (two points in conch)
Vs. industrial:
- Uses ring jewelry instead of barbell
- Holes typically closer together
- Often less problematic healing than industrial
Constellation Piercings
Concept: Multiple piercings arranged artistically across ear like stars in constellation.
Planning considerations:
- Map placement before any piercing begins
- Consider jewelry styles for cohesive look
- Pierce in stages (don't do all at once)
- Allow 6+ months between additions for healing
Popular constellation patterns:
- Ascending sizes up helix
- Clustered gems in specific area
- Balanced front-to-back distribution
- Mixed metals for dimension
Building an ear constellation requires similar planning to curating pleasure products—start with foundational pieces from Jissbon and add complementary elements over time.
Healing Timelines and Aftercare by Location
Fast Healers (6-8 Weeks)
Standard and upper lobe:
Daily care:
- Saline spray 2x daily
- No touching except during cleaning
- Sleep on opposite side when possible
Signs of proper healing:
- Minimal redness after week 1
- No discharge or crustiness by week 4
- Can change jewelry at 6-8 weeks
Moderate Healers (3-6 Months)
Helix, forward helix, tragus, auricle:
Extended care protocol:
- Saline spray 2x daily for first 3 months
- Avoid sleeping on pierced side
- No swimming for first 6 weeks
- Don't change jewelry before 3 months
Expect intermittent soreness and crustiness through month 3.
Slow Healers (6-12+ Months)
Daith, rook, snug, conch, anti-tragus, industrial:
Long-term commitment:
- Saline care 2x daily for 6+ months
- Expect irritation bumps occasionally
- Sleep carefully throughout entire healing
- Don't change jewelry before 9-12 months
These locations have limited blood flow and complex angles, requiring patience.
Universal Aftercare Rules
Do:
- Use sterile saline or wound wash spray
- Pat dry with clean paper towels
- Leave jewelry alone except cleaning
- Downsize jewelry at 6-8 weeks (cartilage) for better healing
Don't:
- Use alcohol, hydrogen peroxide, or antibacterial soap
- Rotate or twist jewelry
- Remove jewelry during healing
- Sleep directly on healing piercings
- Submerge in pools, baths, or natural water
Jewelry Types by Piercing Location
Lobe Jewelry Options
Studs:
- Butterfly back (least secure, snags easily)
- Screw back (more secure)
- Flat back/labret (most comfortable, doesn't poke)
Hoops:
- Seamless rings (no closure visible)
- Segment rings (removable piece)
- Continuous rings (requires bending to open)
- Huggie hoops (close to lobe)
Decorative:
- Dangles and drops
- Threader earrings
- Ear climbers
- Jacket earrings
Cartilage Jewelry Styles
Barbells:
- Straight barbells (industrial, some helix)
- Curved barbells (rook, daith, anti-tragus, snug)
- Circular barbells/horseshoes (versatile for most locations)
Studs:
- Flat-back labrets (most comfortable, no backing pokes)
- Threadless/push-pin style (easy to change)
- Internally threaded (safer than external threads)
Rings:
- Captive bead rings (ball held by ring tension)
- Seamless/segment rings (clean minimal look)
- Clickers (hinged for easy insertion)
Specialty:
- Shields (decorative pieces for conch/lobe)
- Chains connecting multiple piercings
- Custom shapes (hearts, moons, stars)
Material Safety Matters
Body-safe options:
- Implant-grade titanium (Ti6Al4V ELI) – Best for sensitive skin
- 14k+ solid gold (nickel-free)
- Niobium
- Platinum
- Medical-grade stainless steel (316LVM)
Avoid during healing:
- Plated metals (coating wears off)
- Sterling silver (tarnishes, reacts with skin)
- Acrylic/plastic (porous, bacteria trap)
- Mystery metals from mall kiosks
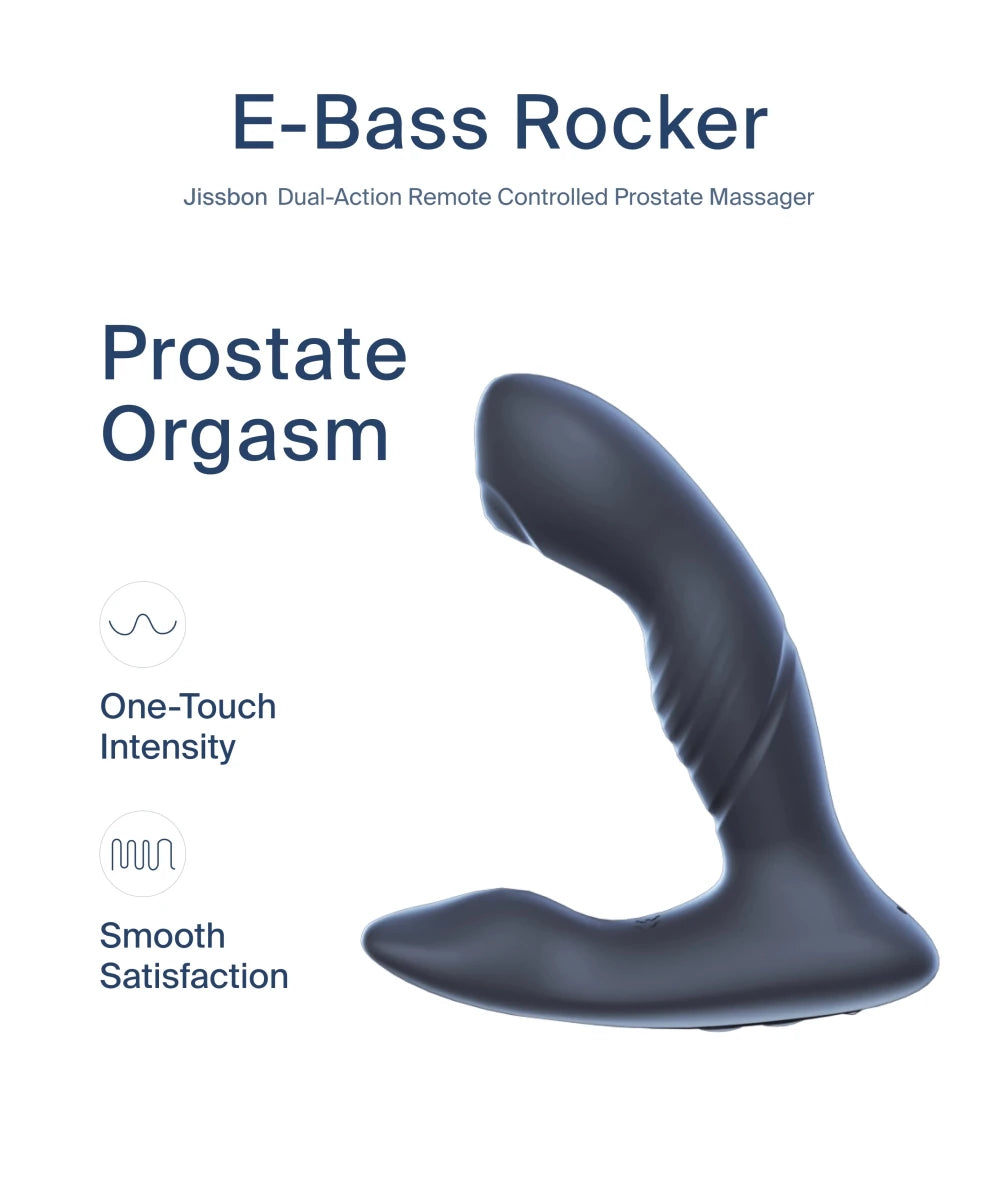
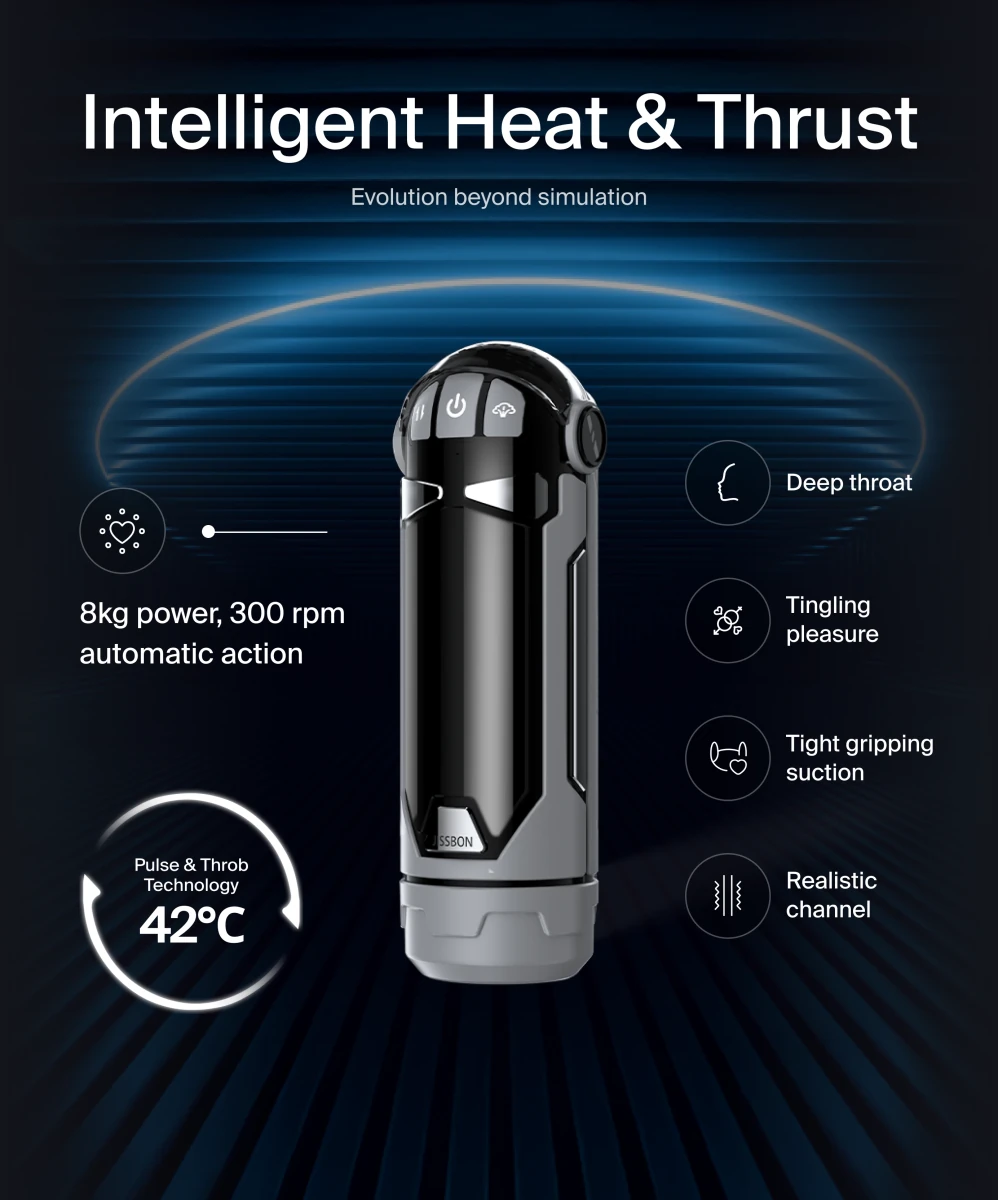
Quality jewelry prevents reactions and supports healing, just as sex toys for women and sex toys for men should use body-safe materials.
Pain Levels and What to Expect
Pain Scale by Location
Least painful (2-3/10):
- Standard lobe
- Upper lobe
Mild discomfort (4-5/10):
- Helix
- Auricle
- Forward helix (single)
- Tragus
Moderate pain (6-7/10):
- Conch (inner and outer)
- Anti-tragus
- Daith
- Forward helix (multiple)
Most painful (7-9/10):
- Rook
- Snug
- Industrial (two piercings at once)
Pain Management Tips
Before piercing:
- Eat substantial meal 2 hours prior
- Stay hydrated
- Avoid alcohol 24 hours before
- Get adequate sleep night before
During procedure:
- Practice deep breathing
- Look away from needle
- Focus on your reason for getting pierced
- Remember pain lasts only 2-3 seconds
After piercing:
- Take ibuprofen as directed for inflammation
- Apply cold compress (not ice directly on skin)
- Avoid aspirin (increases bleeding)
- Expect throbbing for 1-2 hours post-piercing
Cost Breakdown by Piercing Type
|
Piercing Location |
Service Fee |
Jewelry Cost |
Total Range |
|
Standard lobe |
$20-$40 |
$10-$30 |
$30-$70 |
|
Upper lobe |
$20-$40 |
$10-$30 |
$30-$70 |
|
Helix |
$30-$50 |
$15-$40 |
$45-$90 |
|
Forward helix |
$35-$60 |
$15-$40 |
$50-$100 |
|
Tragus |
$30-$50 |
$15-$40 |
$45-$90 |
|
Daith |
$40-$70 |
$20-$50 |
$60-$120 |
|
Rook |
$40-$70 |
$20-$50 |
$60-$120 |
|
Conch |
$35-$60 |
$20-$50 |
$55-$110 |
|
Industrial |
$50-$90 |
$25-$60 |
$75-$150 |
Factors affecting price:
- Geographic location (urban vs. rural)
- Piercer experience and reputation
- Jewelry material quality
- Studio overhead and amenities
Never choose based on cheapest price. Experienced piercers in clean, professional studios justify higher costs.
Frequently Asked Questions
What is the most painful ear piercing?
The industrial, rook, snug, and daith tend to produce the sharpest sensation due to thick cartilage and difficult angles. Pain lasts only a moment, but healing takes the longest. Most people find the experience manageable with proper preparation.
What is the 3/2 piercing rule?
The 3/2 rule refers to balancing the number of piercings on each ear to create symmetry: three on one side and two on the other. This avoids overcrowding while still giving a stylized, curated appearance. It’s a design guideline rather than a strict rule.
Which ear piercing is considered the prettiest?
Beauty depends on personal style, but many people favor the conch for its striking centerpiece look, the forward helix for its delicate sparkle, and the daith for its unique tucked-away placement. The prettiest piercing is the one that complements your ear shape and jewelry taste.
Do ear piercings have meanings based on placement?
While modern piercings are mostly aesthetic, some people assign personal meaning to placements. For example, lobe piercings feel classic and expressive, helix piercings feel edgy or modern, and industrial piercings often symbolize boldness or individuality. Meaning is personal rather than universal.
Can ear piercings help with anxiety or migraines?
Some people report daith piercings easing migraines or anxiety, but there is no scientific evidence confirming these effects. If you enjoy the look, you may benefit emotionally from feeling stylish and confident—but it shouldn’t replace professional medical care.
Can I get multiple piercings done in one session?
Generally yes, but limit to 2-3 maximum in one sitting. Multiple piercings stress your immune system and make aftercare more complex. Space new piercings at least 2-3 months apart for best healing outcomes. Getting an entire constellation at once significantly increases infection and complication risks.
What gauge should I choose for my first cartilage piercing?
Most cartilage piercings use 16G as the sweet spot—thick enough for stability without being overly bulky. Daith and conch often use 14G for structural strength. Your piercer will recommend appropriate gauge based on your specific anatomy and piercing location. Always follow their professional guidance.
How do I know if my piercing location will work for my ear anatomy?
Professional piercers assess anatomy before piercing. Not all ears suit all piercing types—industrials require specific ridge angles, snugs need pronounced inner cartilage, etc. During consultation, piercers examine your ear structure and may mark proposed placement for your approval. Trust their expertise if they recommend alternative locations.
Can I change from a stud to a hoop before full healing?
Not recommended. Hoops move more than studs, irritating healing tissue and introducing bacteria. Wait until complete healing (minimum 3 months for helix, 9-12 months for complex cartilage) before switching jewelry styles. Premature changes commonly cause infections, irritation bumps, and prolonged healing.
What causes those bumps around healing piercings?
Irritation bumps (hypertrophic scarring) result from trauma, pressure, low-quality jewelry, or premature jewelry changes. They're not infections but healing complications. Treatment: Switch to implant-grade titanium flat-back jewelry, avoid sleeping on piercing, maintain consistent saline cleaning, leave it alone. Most resolve in 4-8 weeks with proper care.
How do I clean jewelry I can't remove during healing?
Spray saline solution directly onto jewelry and piercing, letting it sit 30-60 seconds. Gently remove crusties with clean gauze or paper towel—don't force anything. The goal is cleaning buildup without moving jewelry unnecessarily. Never rotate or twist jewelry during healing, as this introduces bacteria into the wound channel.
Planning Your Perfect Ear Curation
Ear piercing charts help you visualize placement possibilities and plan cohesive jewelry arrangements. Start with foundational lobe piercings, add complementary cartilage locations over time, and build toward your ideal aesthetic gradually.
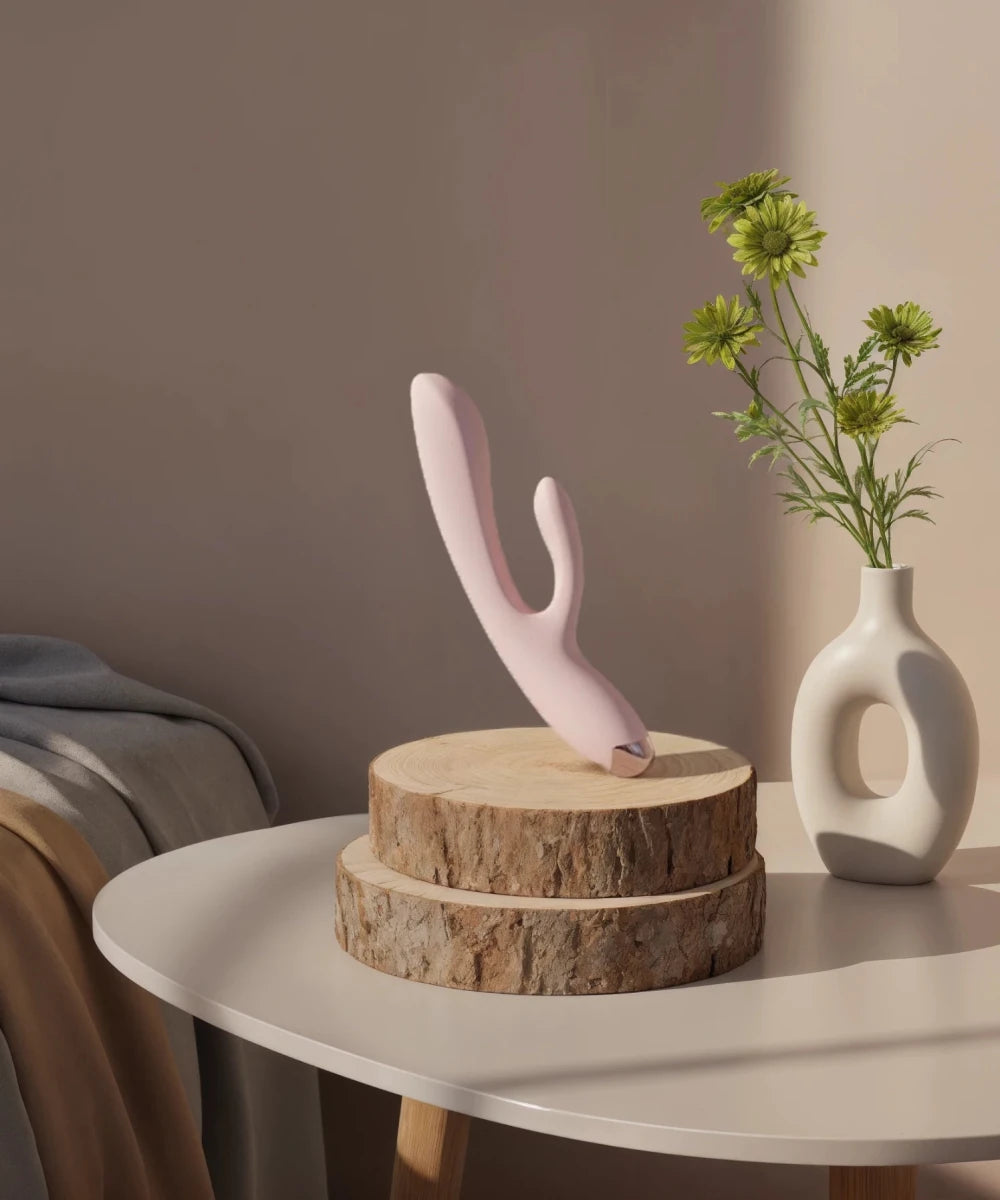
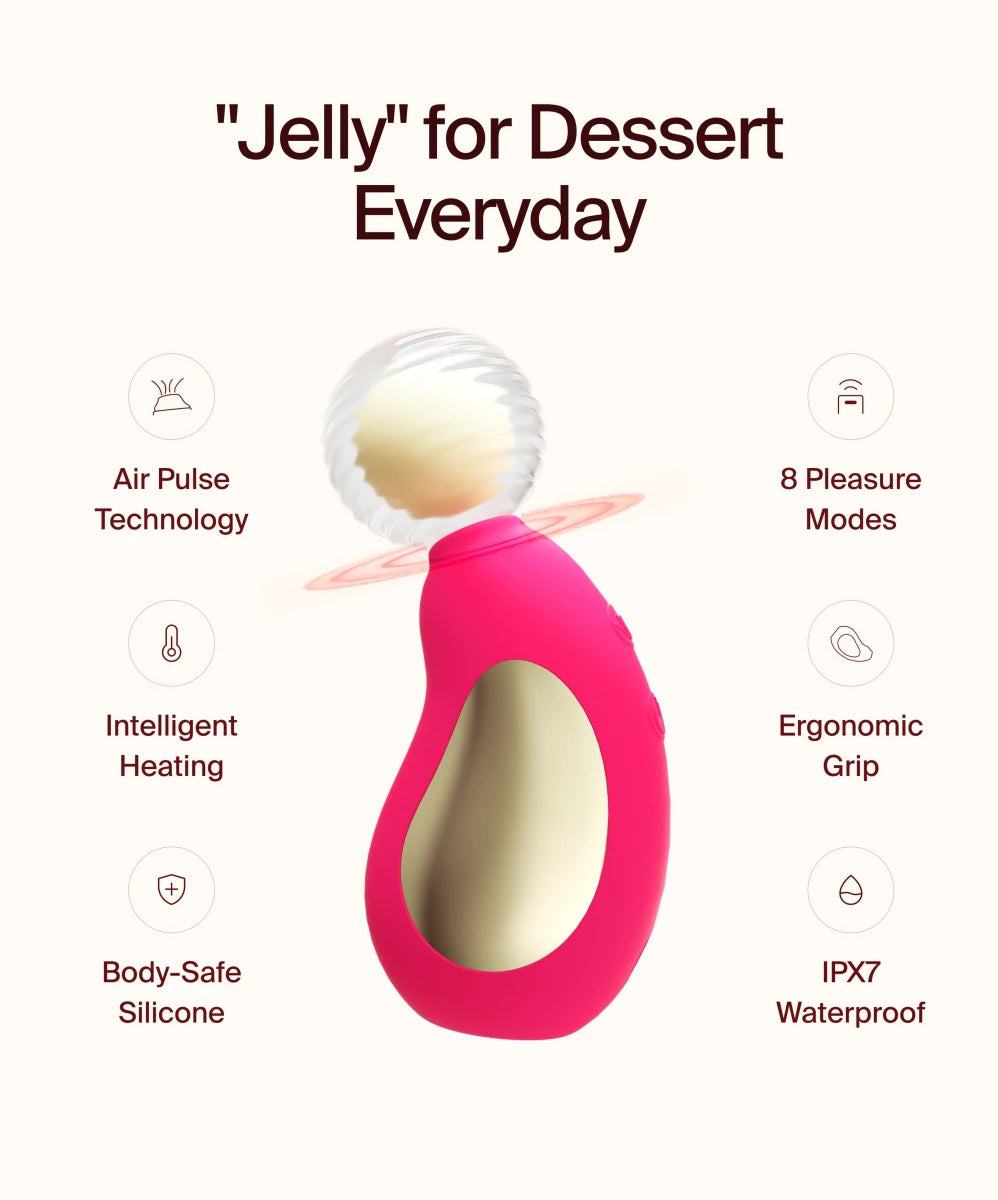
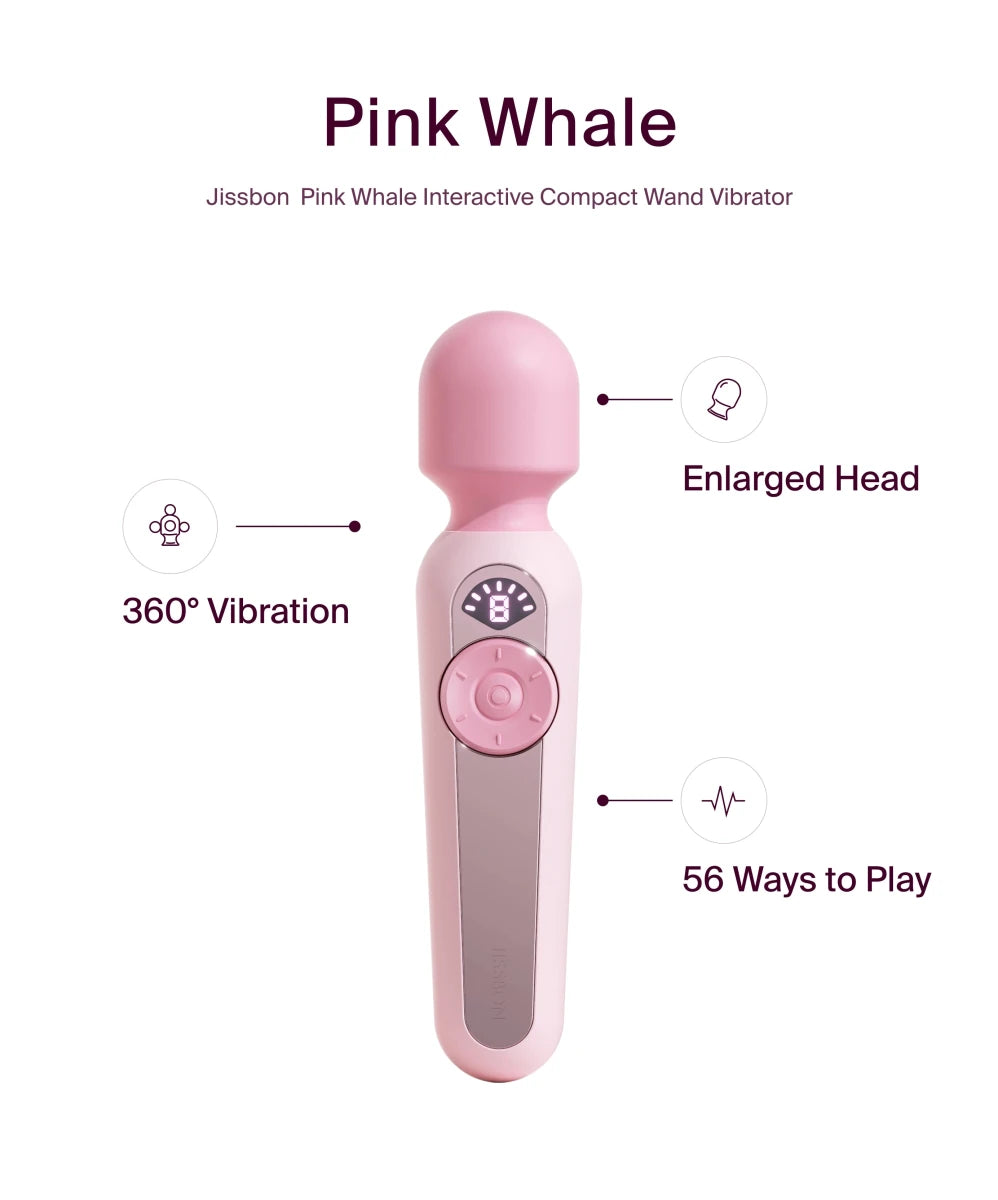
Ready to explore more body-safe products designed with quality and care? Browse sex toys for couples or rabbit vibrators crafted with the same attention to materials and comfort you need for successful piercings.


Looking for something else?

Where to Hide Sex Toys: 15 Discreet Storage Ideas
LEARN MORE
Playing with Vibrator: Complete Solo Guide & Tips
LEARN MORE
Sex Positions from Behind: 8 Beyond Doggy Style
LEARN MORE
What Does a Vulva Taste Like? Facts & Myths Explained
LEARN MORELooking for something else?

Straddle Sex Position: 7 Variations & Tips
LEARN MORE
Mistress Slave Relationship in BDSM: Complete Guide
LEARN MORE
Sensual Domination: Guide to Affectionate Power Play
LEARN MOREYou may also like
20% off

20% off

20% off

20% off

20% off

20% off

Further reading

Understanding Smoking Fetish: The Erotic Appeal of Cigarettes

Deep Penetration Orgasm: A-Spot, G-Spot & Techniques
Vibrator Bondage: BDSM Guide to Restrained Pleasure