


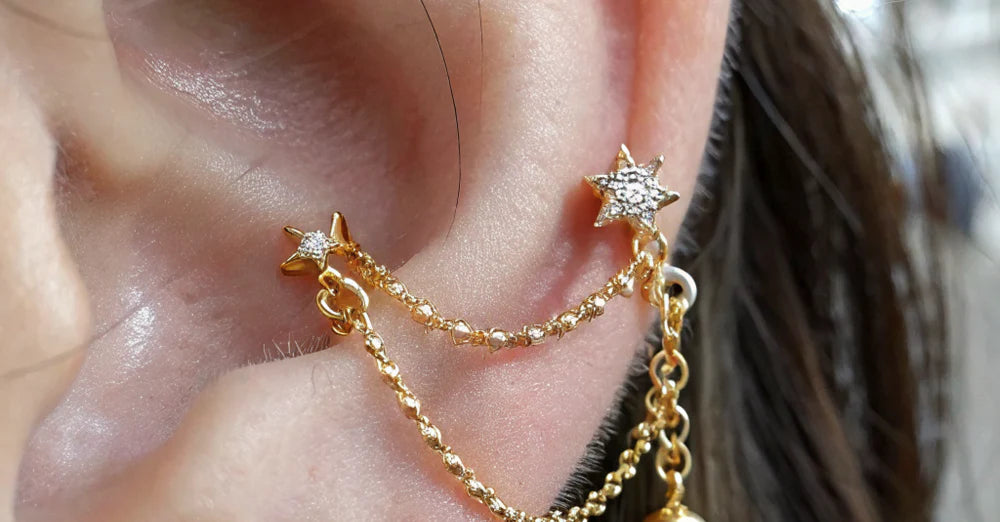
Conch Piercing: Complete Guide to This Statement Cartilage Piercing
Stack & Save: Extra 15% with Jissbon15
Jissbon15
A conch piercing passes through the large, bowl-shaped cartilage area in the center of your ear—the section resembling a conch shell. This versatile piercing offers two distinct placement options (inner and outer) and accommodates various jewelry styles from delicate studs to statement hoops.
Understanding anatomical variations, healing requirements, proper sizing, and jewelry options helps you achieve the perfect conch piercing that complements your ear anatomy.
This comprehensive guide covers everything from celebrity inspiration to long-term maintenance.
Conch Piercing & Head Pressure — What’s Normal?
Place this after the Pain Level section or in Troubleshooting.
Some people experience temporary pressure sensations after getting a conch piercing, especially during the first few weeks. The conch area sits close to nerve pathways that respond to swelling, so sensations can feel like:
- A dull ache traveling toward the jaw or scalp
- Mild ear pressure similar to altitude changes
- Temporary sensitivity when chewing or talking
These effects usually decrease significantly within 2–5 weeks.
When pressure is not normal:
Seek piercer or medical evaluation if you experience:
- Sharp, radiating pain beyond the cartilage area
- Headaches that worsen rather than improve
- Heat, redness, or swelling spreading beyond the conch
- Ear drainage with odor or unusual color
Most pressure sensations are simply side effects of cartilage healing, not signs of serious complications.
Common Myths About Conch Piercings (Debunked)
Despite rising popularity, conch piercings come with several persistent myths. Understanding the truth helps set realistic expectations.
Myth 1: “Outer conch piercings are easier to heal than inner conch.”
Reality: Both placements involve thick cartilage and share identical healing timelines. The main challenge is avoiding pressure from headphones, hair, or sleeping positions—not the specific placement.
Myth 2: “Conch piercings cure anxiety or migraines.”
Reality: No clinical proof supports therapeutic claims. Any relief people report is anecdotal. Get a conch piercing because you like the aesthetic—not as medical treatment.
Myth 3: “Hoops heal better than studs.”
Reality: Hoops move more, trap bacteria more easily, and cause irritation bumps for most people. Almost all professional piercers recommend starting with a flat-back stud.
Myth 4: “You must remove the jewelry for medical imaging.”
Reality: Conch jewelry made of titanium or niobium is MRI-safe, but always inform technicians first. Some imaging centers still request removal as a precaution.
What Defines a Conch Piercing
Anatomy and Location
The conch area:
Named after its resemblance to a conch seashell, this is the large, cup-like cartilage bowl in your ear's center.
Anatomical features:
- Located next to ear canal opening
- Largest flat cartilage section in ear
- Bowl-shaped depression
- Varies in size between individuals
- Surrounded by anti-helix ridge
Why anatomy matters:
Not all ears have identical conch areas. Size, depth, and shape differences affect:
- Jewelry sizing requirements
- Placement options (inner vs. outer)
- Hoop diameter needs
- Healing experiences
- Visual appearance of piercing
Inner vs. Outer Conch: Understanding the Difference
|
Feature |
Inner Conch |
Outer Conch |
|
Location |
Center of conch bowl |
Closer to outer rim/edge |
|
Jewelry |
Studs, flat-back labrets |
Hoops that wrap around ridge |
|
Visual effect |
Centered, focal point |
Hoop hugs outer ear curve |
|
Healing time |
6-12 months |
6-12 months |
|
Pain level |
6-7/10 |
6-7/10 |
|
Popularity |
More common |
Less common but trending |
|
Can pair with |
Outer conch for layered look |
Inner conch, helix piercings |
Inner conch characteristics:
- Pierced through deepest part of conch bowl
- Allows for decorative stud jewelry
- Can accommodate larger gauge jewelry
- Easier to sleep on after healing
- Great for showcasing gemstones or unique ends
Outer conch characteristics:
- Pierced near outer ridge of conch
- Specifically designed for hoop jewelry
- Creates "orbit" effect around ear cartilage
- Hoop wraps around outer conch edge
- More visible profile from side view
Can you get both?
Yes! Many people combine inner and outer conch piercings for layered jewelry aesthetic. Space them appropriately (6+ months apart for healing) to avoid complications.
Celebrity Conch Piercing Inspiration

Notable Conch Piercing Enthusiasts
Fashion-forward celebrities sporting conch piercings:
- Zoë Kravitz – Multiple conch piercings creating curated ear aesthetic
- Emma Watson – Subtle inner conch with delicate stud
- Bella Hadid – Layered conch and helix combinations
- Scarlett Johansson – Classic inner conch placement
- FKA twigs – Elaborate ear curation including conch
Celebrity trends:
- Minimalist single studs (understated elegance)
- Stacked multiple conch piercings on same ear
- Mixing metals (gold conch with silver helix)
- Gemstone statement pieces in conch
- Delicate hoops for outer conch
Curated ear aesthetic:
Celebrities often combine conch piercings with:
- Multiple helix piercings
- Tragus or daith piercings
- Several lobe piercings
- Mixed jewelry metals and styles
- Asymmetrical ear designs (different on each side)
The Conch Piercing Procedure
Pre-Appointment Preparation
What to do beforehand:
- Research piercers (check portfolios, reviews, APP membership)
- Eat substantial meal 1-2 hours prior
- Avoid alcohol 24 hours before (thins blood)
- Come with clean ears (no product buildup)
- Wear hair up or away from ears
- Bring valid ID (18+ or parental consent)
What to avoid:
- Aspirin or ibuprofen (blood thinners)
- Coffee immediately before (increases jitters)
- Bringing entire friend group (piercers prefer 1-2 guests max)
Step-by-Step Process
During your appointment:
- Consultation – Piercer examines ear anatomy, discusses inner vs. outer placement
- Marking – Placement dot marked with surgical pen; you approve in mirror
- Cleaning – Ear disinfected with antiseptic solution
- Receiving tube – Hollow tube placed behind ear as backing
- Needle insertion – Single-use 16G or 14G hollow needle pushed through cartilage
- Jewelry threading – Labret stud or barbell immediately inserted through fresh channel
- Securing – Ball screwed onto jewelry from front
- Final check – Placement verified, jewelry tightness confirmed, aftercare instructions given
Duration: 10-20 minutes total (longer if doing both ears)
Needle gauge: Typically 16G (1.2mm) or 14G (1.6mm)
Pain Level Expectations
Most rate conch piercing pain: 6-7 out of 10
Why it hurts moderately-significantly:
- Thick cartilage (thicker than helix)
- Deeper tissue penetration
- Pressure sensation during needle passage
- "Crunch" or "pop" feeling as needle goes through
During procedure:
- Sharp, intense pinch for 2-3 seconds
- Pressure and heat sensation
- May hear cartilage crunching (normal, not painful)
- Eyes may water reflexively
Immediately after:
- Throbbing for 30-60 minutes
- Ear feels hot and sensitive
- Mild to moderate aching for several hours
- Significantly better after first day
Gauge Sizes and Jewelry Measurements

Understanding Gauge Sizing
Standard conch piercing gauges:
- 16G (1.2mm) – Most common, balances stability with versatility
- 14G (1.6mm) – Thicker, more secure for larger jewelry
- 12G (2.0mm) – Uncommon initially; some stretch to this later
Why gauge matters:
- Determines jewelry compatibility
- Affects structural stability
- Influences healing success
- Limits future jewelry options if too small
- Can't easily size down (only up through stretching)
Gauge comparison to other piercings:
- Earlobes: 20G-18G (thinner)
- Helix/cartilage: 18G-16G
- Conch: 16G-14G (thicker for stability)
- Industrial: 14G (thick for long barbell)
Ring Sizing for Outer Conch
Determining correct hoop diameter:
Outer conch hoops must wrap around outer ridge comfortably. Typical sizes:
- Small ear anatomy: 10-12mm (3/8" - 1/2") inner diameter
- Average ear anatomy: 12-14mm (1/2" - 9/16") inner diameter
- Larger ear anatomy: 14-16mm (9/16" - 5/8") inner diameter
How to measure for hoops:
- Wait until fully healed (12+ months)
- Visit piercer for professional measurement
- They measure from piercing hole to outer edge
- Add 1-2mm for comfortable fit (not too tight)
- Consider jewelry thickness (thicker = appears smaller)
Trial and error:
First hoop may require adjustment. Too small feels tight and uncomfortable; too large looks floppy and snags easily.
Stud Post Length
Initial jewelry (for swelling):
- Post length: 8-10mm
- Allows room for swelling during first 6-8 weeks
Downsized jewelry (after swelling subsides):
- Post length: 6-8mm
- Shorter post prevents snagging
- More comfortable for sleeping
- Better aesthetic appearance
Downsize timing: 6-8 weeks post-piercing (critical step for proper healing)
Healing Timeline and Stages

Month-by-Month Expectations
Month 1-2: Initial healing phase
- Maximum tenderness and swelling
- Minor bleeding or clear discharge
- Crusties form around jewelry
- Sleep position critical (avoid pierced side)
- Daily cleaning essential
Month 3-4: Active healing
- Swelling reduces significantly
- Less day-to-day soreness
- Ready for jewelry downsize (shorter post)
- Still fragile—avoid trauma
- Continue full aftercare routine
Month 5-8: Surface healing completion
- External wound appears healed
- Internal channel still developing
- Occasional sensitivity when bumped
- Less discharge and crustiness
- Can carefully sleep on pierced side with travel pillow
Month 9-12: Full healing
- Internal tissue fully formed
- No sensitivity to touch
- Can change jewelry safely
- Still maturing for 12-18 months total
- Reduce aftercare to weekly jewelry cleaning
Average healing time: 6-12 months (some people take 18+ months)
Factors Affecting Healing Speed
Faster healing:
- Excellent aftercare adherence
- Strong immune system
- Proper sleep and nutrition
- Minimal trauma or snagging
- Quality jewelry materials
Slower healing:
- Smoking or vaping
- Compromised immune system
- Sleeping on piercing regularly
- Playing with or touching jewelry
- Poor quality or too-long jewelry
- Inconsistent cleaning
Complete Aftercare Protocol

Daily Cleaning Routine
Twice-daily cleaning (morning and night):
- Wash hands thoroughly with antibacterial soap
- Spray saline solution directly on piercing (both front and back)
- Let sit 30-60 seconds to loosen debris
- Gently remove crusties with clean gauze or cotton swab
- Pat dry with clean paper towel (never cloth towels)
Products to use:
- Sterile saline wound wash (0.9% sodium chloride)
- Pre-made sprays (NeilMed, H2Ocean)
- Homemade: 1/4 tsp non-iodized sea salt per 8 oz distilled water
Products to avoid:
- Rubbing alcohol (too harsh, delays healing)
- Hydrogen peroxide (damages tissue)
- Betadine or iodine
- Tea tree oil (too strong)
- Antibiotic ointments (trap bacteria)
Lifestyle Adjustments During Healing
Sleep considerations:
- Avoid sleeping on pierced ear for 3-6 months
- Use travel pillow (ear goes in hole, no pressure)
- Sleep on opposite side
- Some use rolled towel under neck for positioning
Hair and beauty products:
- Keep hair products away from piercing
- Avoid spraying hairspray near pierced ear
- Careful with hair brushing (snags jewelry)
- No hair dye or bleach dripping on piercing
- Avoid heavy hair conditioner buildup
Activities to avoid:
- Swimming (pools, lakes, ocean) for 3-6 months
- Headphones/earbuds (over-ear only, avoid pressure)
- Helmets or headgear that press on piercing
- Rough sports with ear contact risk
- Phone pressed against pierced ear
What you CAN do:
- Shower normally (let clean water run over piercing)
- Wear earrings in other piercings
- Exercise (avoid activities that jar head)
- Travel (bring cleaning supplies)
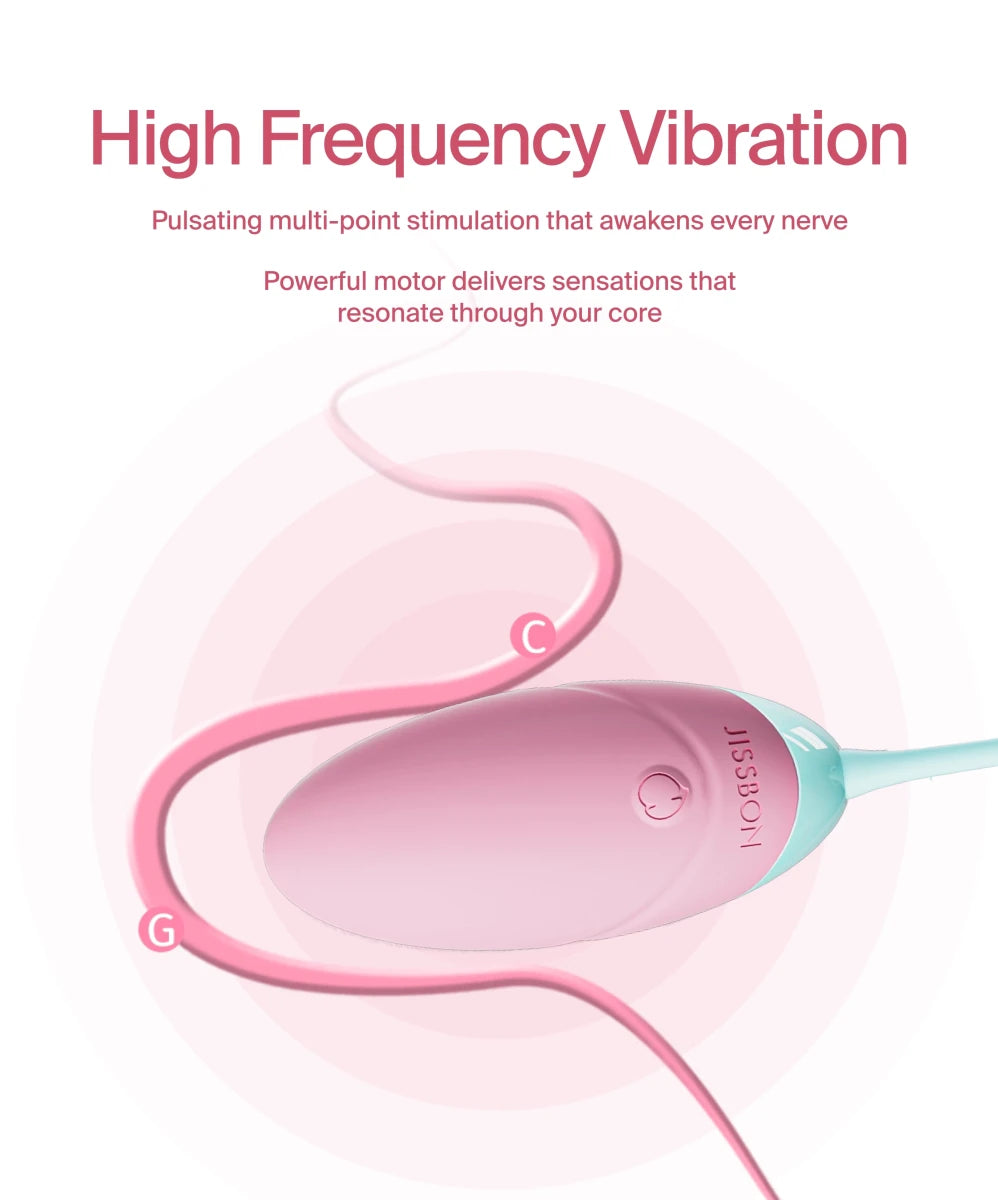
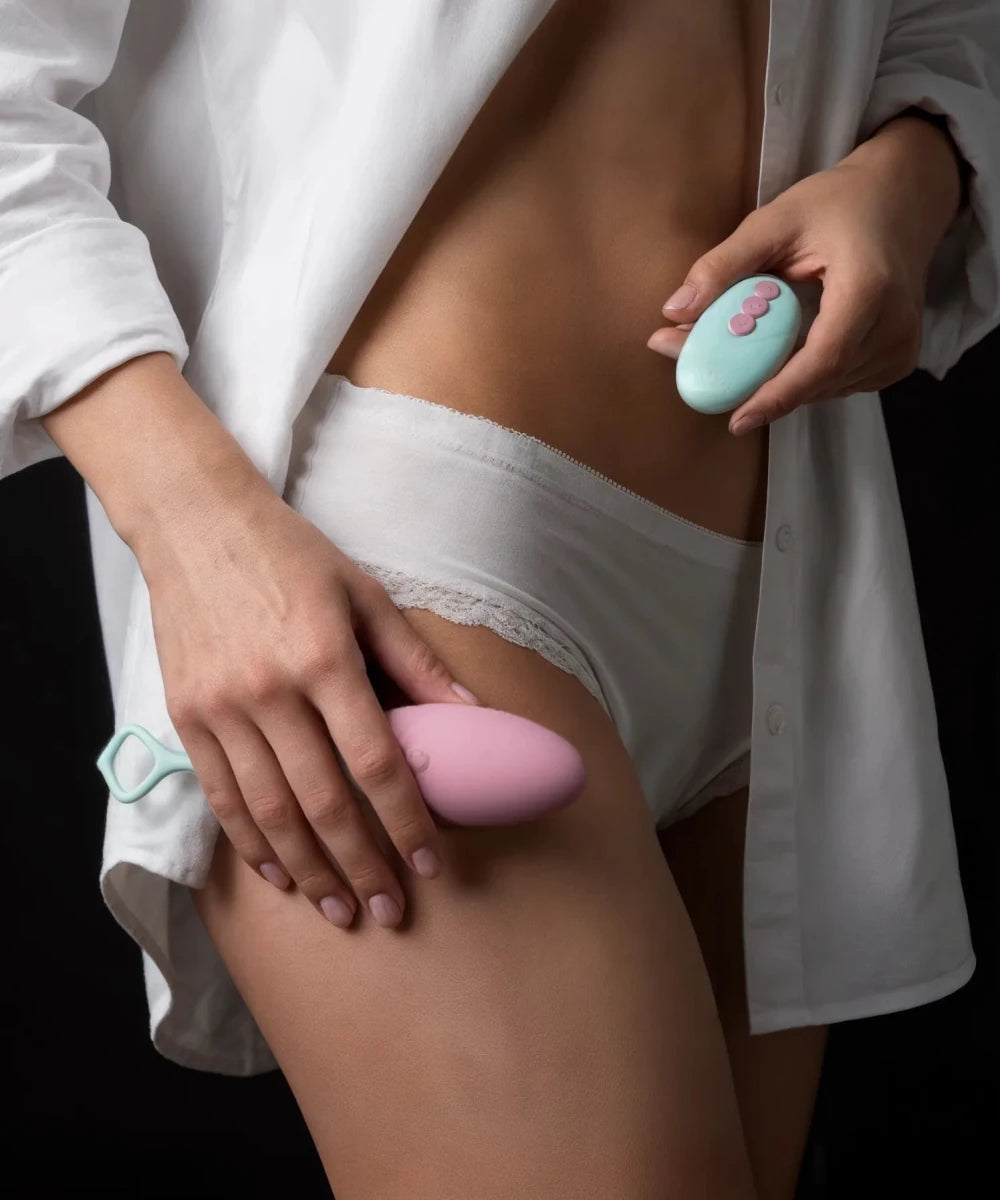
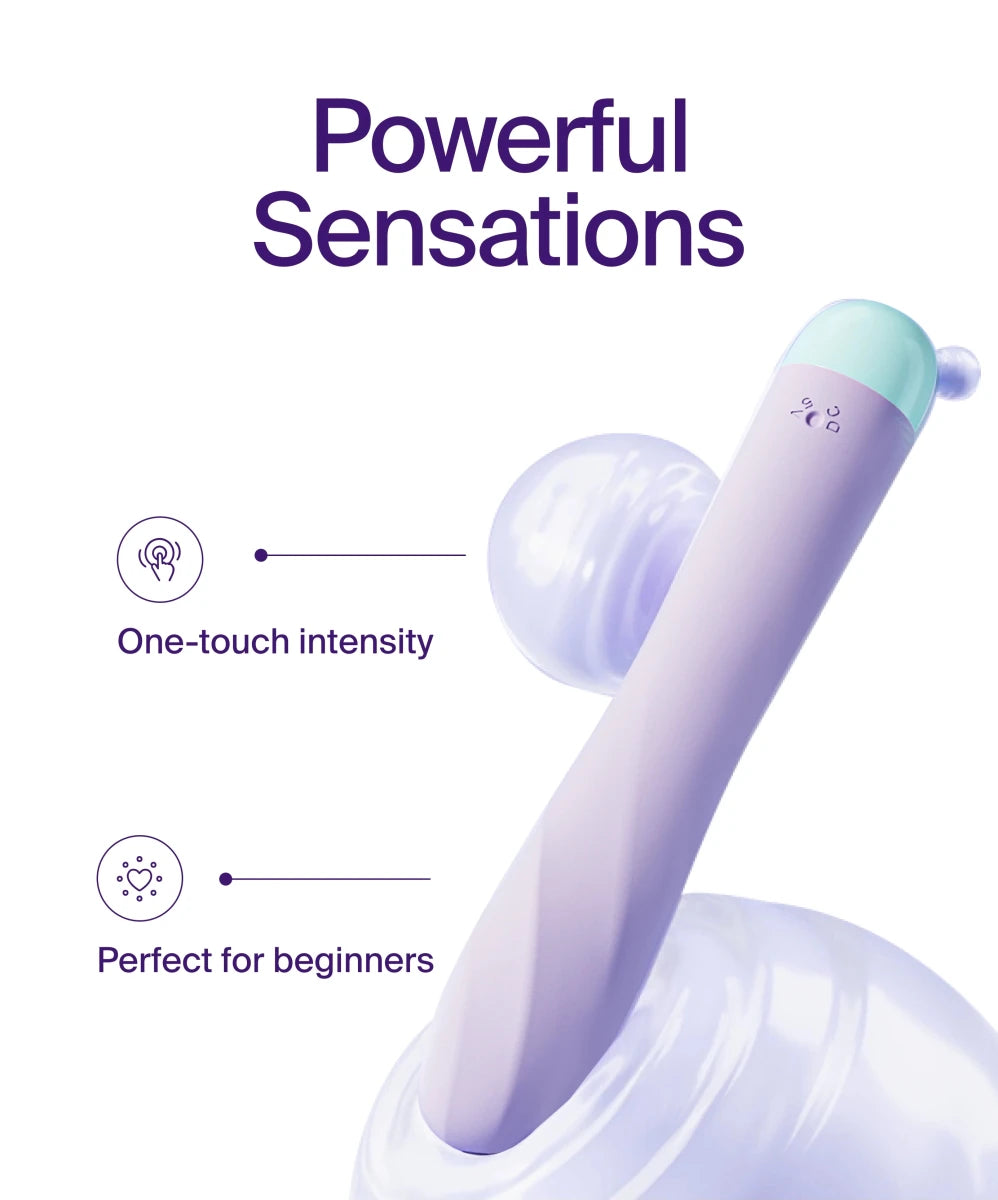
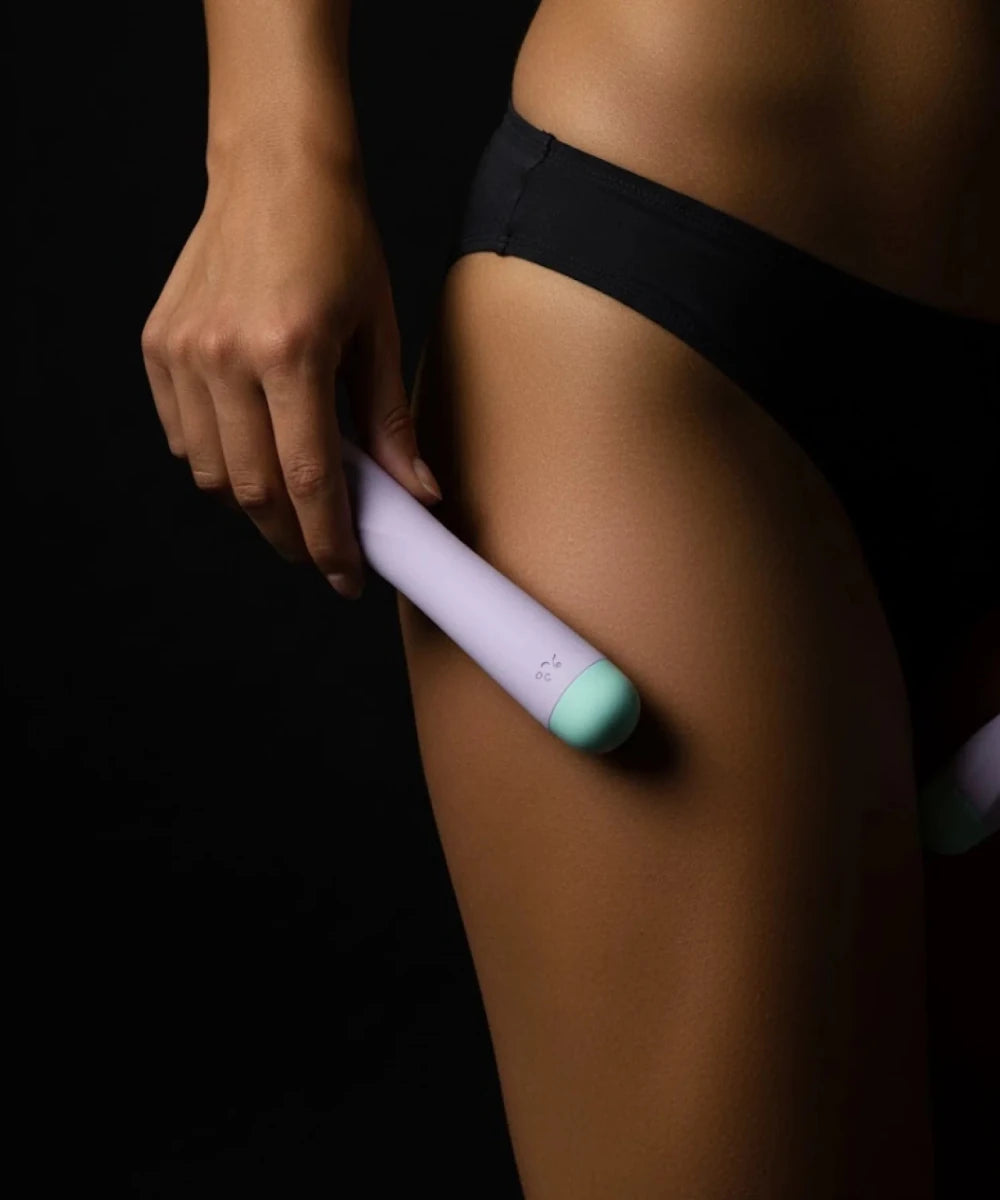
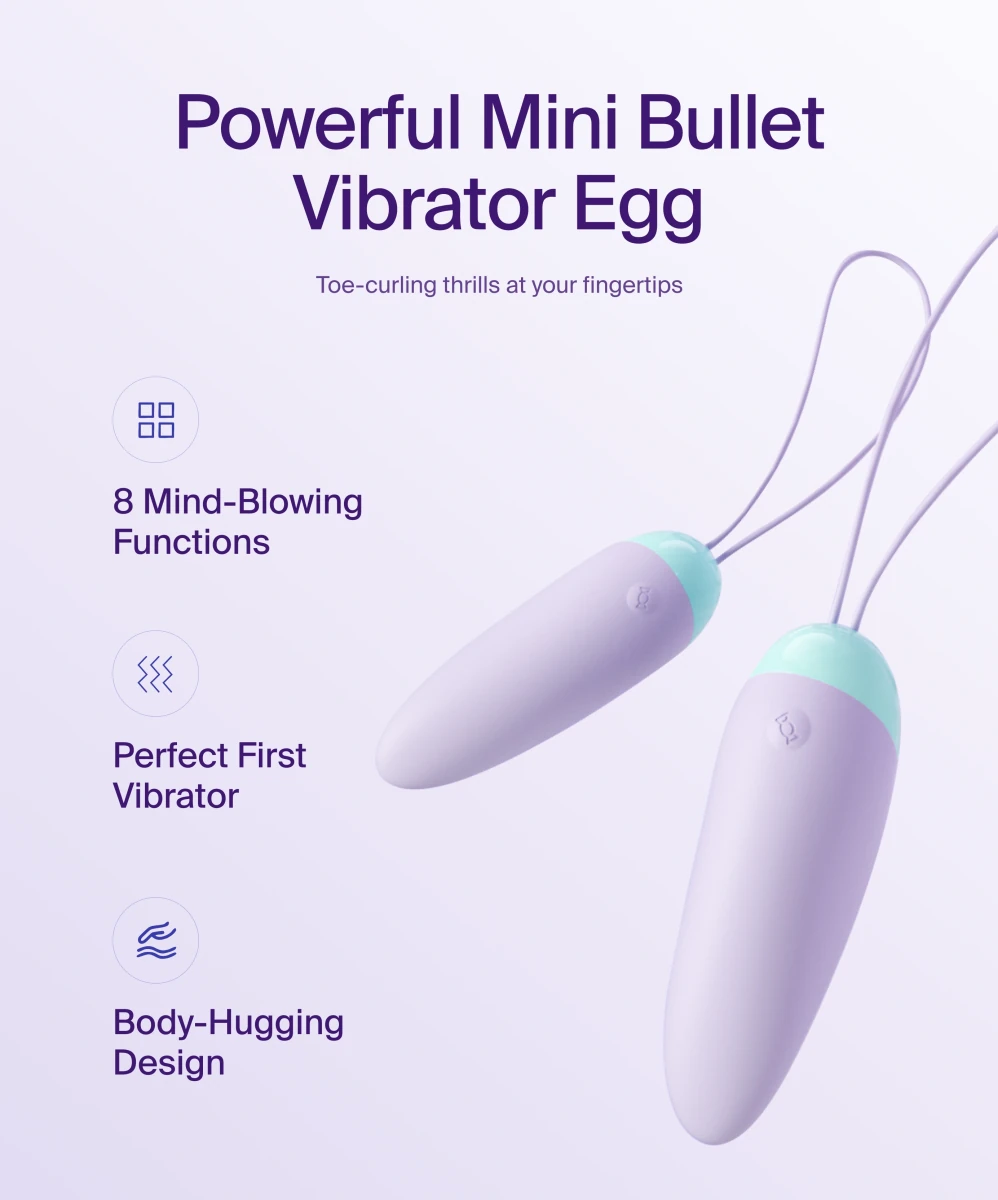
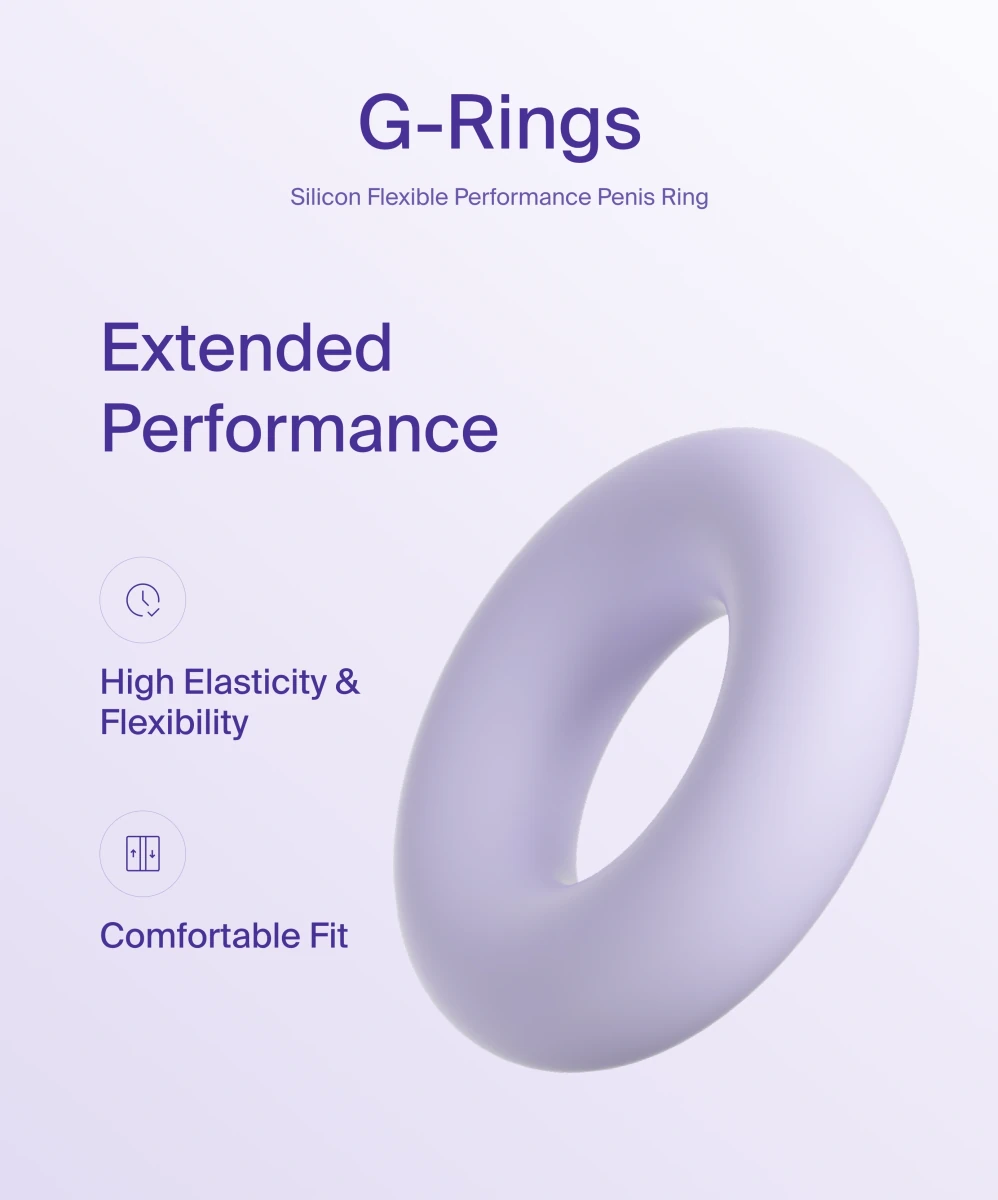
Similar to caring for intimate products from Jissbon, proper hygiene and quality materials matter significantly for successful outcomes.
Jewelry Options and Styles
Initial Healing Jewelry
Flat-back labret studs:
Why piercers use these:
- Flat back doesn't snag or irritate
- Stable during healing
- Easy to clean
- Comfortable for sleeping (once able)
- Reduces irritation bumps
Components:
- Flat disk back (inside ear)
- Threaded post (through cartilage)
- Decorative end (external, visible)
Materials for initial jewelry:
- Implant-grade titanium (Ti6Al4V ELI) – Best choice, hypoallergenic
- 14k or 18k solid gold – Expensive but body-safe
- Niobium – Alternative to titanium
After-Healing Jewelry Variety
Once fully healed (12+ months):
Studs:
- Opal ends (iridescent, feminine)
- Gemstone ends (cubic zirconia, genuine stones)
- Flat disk ends (minimalist)
- Unique shapes (flowers, moons, stars)
- Cluster ends (multiple small stones)
Hoops (outer conch):
- Seamless rings (no visible closure)
- Segment rings (removable piece)
- Clickers (hinged for easy insertion)
- Captive bead rings (ball held by tension)
- Continuous rings (bend to open)
Statement pieces:
- Charms or dangles
- Chains connecting to other piercings
- Large decorative ends
- Mixed metal combinations
Size considerations:
- Disk diameters: 3-5mm common for studs
- Hoop thickness: 18G-14G (matches piercing gauge)
- Decorative end size: Personal preference (subtle vs. statement)
Troubleshooting Common Issues
Irritation Bumps (Hypertrophic Scarring)
What they are:
Small, raised bumps around piercing—not keloids, not infections, but healing complications.
Causes:
- Jewelry too long (snagging, moving excessively)
- Low-quality jewelry materials
- Sleeping on piercing
- Bumping or trauma
- Over-cleaning (more than 2x daily)
Treatment:
- Switch to implant-grade titanium flat-back if not already
- Downsize to appropriate post length
- Stop sleeping on that side
- Continue saline cleaning only (2x daily)
- Hands off completely except cleaning
- Patience—most resolve in 4-8 weeks
Prolonged Swelling
Normal: Swelling peaks days 3-5, reduces significantly by week 3-4
Concerning: Swelling that increases after first week or doesn't reduce by week 4
Possible causes:
- Jewelry post too short (embedding risk)
- Infection developing
- Allergic reaction to jewelry
- Trauma or excessive movement
Action: See piercer immediately for evaluation and possible jewelry change
Embedding or Migration
Embedding:
Jewelry sinking into swollen tissue. Requires immediate piercer visit for longer jewelry.
Prevention:
- Adequate initial post length
- Downsize at appropriate time
- Avoid sleeping on piercing
Migration:
Jewelry moving toward surface over time. Less common in conch than surface piercings but possible.
Signs:
- Jewelry sits at different angle than originally
- Less tissue between front and back
- Increasing transparency of skin
Action: Consult piercer—may need to remove before severe scarring
Conch Piercing Compared to Other Cartilage Piercings
|
Piercing |
Pain (1-10) |
Healing Time |
Jewelry Variety |
Sleep Impact |
Visibility |
|
Conch |
6-7 |
6-12 months |
High (studs, hoops) |
Significant initially |
Moderate-high |
|
Helix |
5-6 |
3-9 months |
High (studs, hoops) |
Moderate |
High |
|
Daith |
7-8 |
6-12 months |
Moderate (rings only) |
Low |
Low-moderate |
|
Tragus |
5-6 |
3-9 months |
Moderate (studs mostly) |
Low |
Moderate |
|
Industrial |
8-9 |
6-12 months |
Low (barbells only) |
Very high |
Very high |
|
Rook |
7-8 |
6-12 months |
Low (curved barbells) |
Low |
Low |
Conch advantages:
- Versatile jewelry options
- Large canvas for statement pieces
- Can get inner and outer for layered look
- Well-tolerated by most anatomies
Conch challenges:
- Thicker cartilage = more painful
- Longer healing than helix
- Sleep position critical during healing
- Snagging risk with hoops
Making the Decision
Good Candidates for Conch Piercings
You're likely a good candidate if:
- You're 18+ (or have parental consent)
- You have adequate conch cartilage size
- You can commit to 6-12 month healing
- You're able to avoid sleeping on that side
- You have good overall health
- You can afford quality jewelry
- You're prepared for moderate-significant pain
- You can attend to consistent aftercare
When to Reconsider
Conch piercings may not suit you if:
- You're a strict side sleeper (on side you want pierced)
- Your ear anatomy lacks adequate conch area
- You have keloid scarring tendencies
- You wear headphones constantly for work
- You play contact sports regularly
- You have active autoimmune conditions
- You're unwilling to commit to aftercare
Testing the Waters
Not ready to commit?
- Try clip-on ear cuffs or magnetic jewelry
- Temporary stick-on "piercings"
- Observe how conch jewelry looks on others
- Wait until timing is better (after sports season, etc.)
Frequently Asked Questions
Does a conch piercing affect earbud or AirPod use permanently?
Only during healing. After 6–12 months, many people resume using in-ear earbuds comfortably—though some prefer switching to over-ear or bone-conduction headphones long-term because jewelry placement may still create mild pressure. If earbuds repeatedly press on your conch, consider using smaller silicone tips.
Are conch piercings safe for all ear shapes?
Most anatomies can accommodate conch piercings, but extremely shallow or narrow conch bowls may limit placement options. A professional piercer assesses:
- Depth of the conch bowl
- Cartilage thickness
- Whether jewelry will sit comfortably
If your anatomy doesn’t suit a traditional conch piercing, they may recommend a faux-conch (helix + lobe combo) for a similar visual effect.
Can conch piercings reject or migrate?
Rarely, but it can happen—usually due to trauma, pressure during sleep, or unsuitable jewelry. Conch cartilage is deep and stable, so rejection isn’t as common as with surface piercings. If the jewelry angle changes or the hole appears closer to the skin surface, visit your piercer promptly.
Why does my healed conch piercing feel sore some days?
Cartilage piercings remain sensitive to pressure for months even after appearing healed externally. Occasional soreness can be triggered by:
- Sleeping on that side
- Cold weather
- Tight headphones
- Seasonal allergies causing ear inflammation
This mild sensitivity is normal and usually temporary.
Should inner or outer conch be pierced first?
Most piercers recommend inner conch first, because it heals more predictably and doesn’t interfere with outer-ear contours. Completing the inner conch reduces swelling before placing an outer conch, ensuring better spacing. Both can be done together, but healing requires very careful sleep and care.
How much does a conch piercing hurt compared to other piercings?
Conch piercings hurt more than lobe or helix piercings (6-7/10 vs. 2-3/10 and 5-6/10 respectively) due to thicker cartilage. Less painful than industrial or rook piercings. Pain is sharp but brief—2-3 seconds of intense pinch, then throbbing for 30-60 minutes. Most say it's tolerable and worth it.
Can you sleep on a conch piercing after it heals?
Yes, after 6-12 months of complete healing, most people sleep comfortably on conch piercings. During healing, sleeping on it causes pressure, pain, and irritation bumps. Use travel pillows (ear in center hole) or sleep on opposite side. Some people's ears remain sensitive even after healing—depends on individual anatomy.
What size hoop fits a conch piercing?
Outer conch hoops typically range 10-16mm inner diameter. Average anatomy suits 12-14mm. Piercer measures your specific ear from piercing site to outer edge, adding 1-2mm for comfort. First hoop should be professionally fitted after complete healing (12+ months). Inner diameter, gauge thickness, and hoop style all affect fit.
Can you get conch piercings on both ears?
Yes, but consider spacing them months apart for easier healing. Sleeping becomes challenging with both sides healing simultaneously. Most people who want both do one ear, wait 6-12 months for healing, then pierce the second. Some get both at once and manage with travel pillows or elevated sleeping positions.
Do conch piercings close up if you remove jewelry?
The hole shrinks but rarely closes completely in fully healed piercings (18+ months old). Fresh piercings (under 6 months) close within days to weeks. After years of wear, the channel remains open though may shrink to smaller gauge. Always keep jewelry in during healing period—removing restarts healing process.
Can you wear earbuds or headphones with a conch piercing?
Avoid all earbuds and over-ear headphones that press on piercing during healing (6-12 months). After healing, over-ear headphones usually work fine. In-ear earbuds may or may not work depending on piercing placement and earbud size—some press against jewelry uncomfortably. Many conch enthusiasts switch to bone conduction headphones or single-side earbud use.
Achieving Your Perfect Conch Piercing
Conch piercings offer versatility through inner and outer placement options, accommodate diverse jewelry styles, and create stunning focal points in curated ear designs. Understanding anatomy, committing to proper aftercare, and choosing quality jewelry ensures successful results.
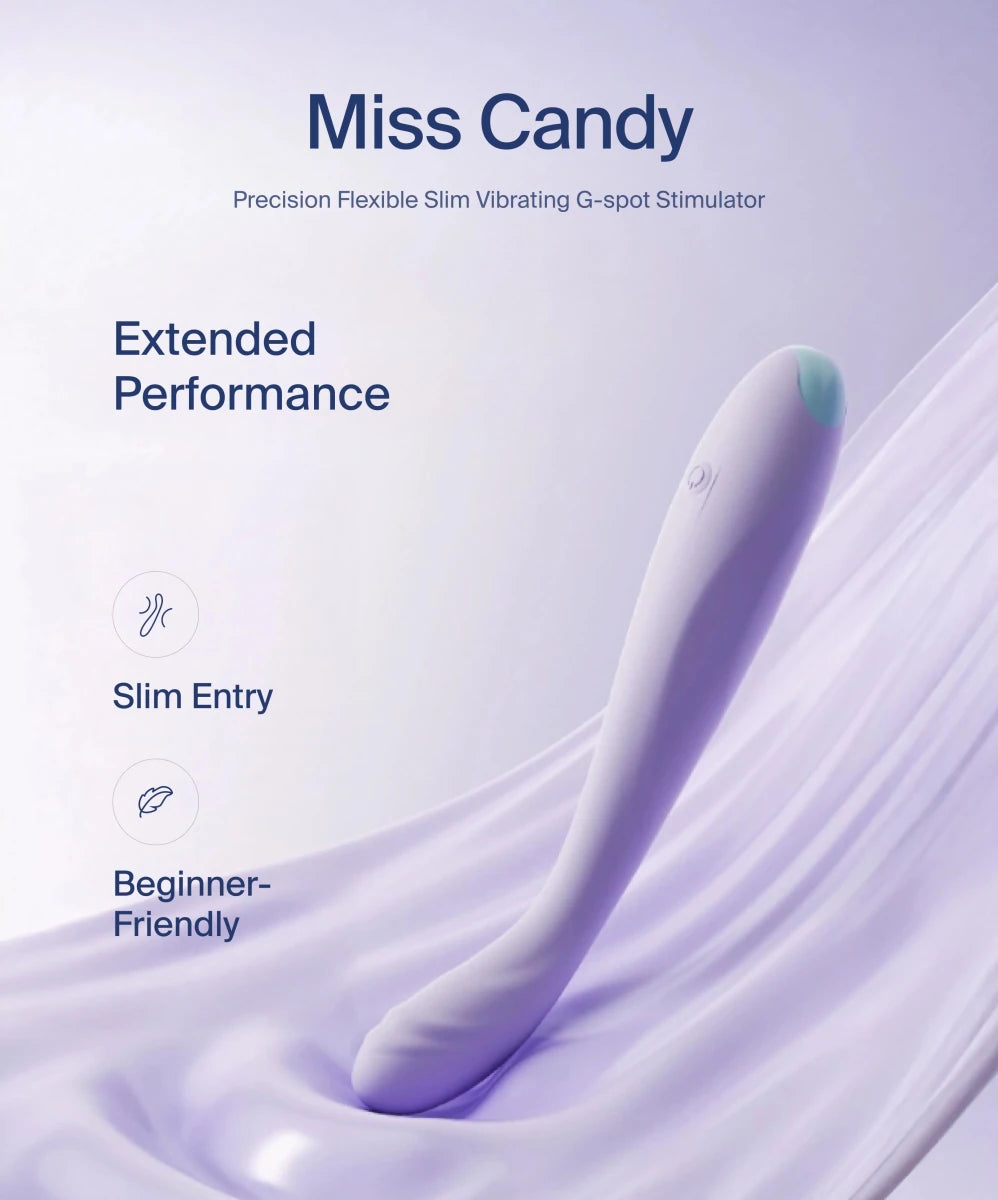
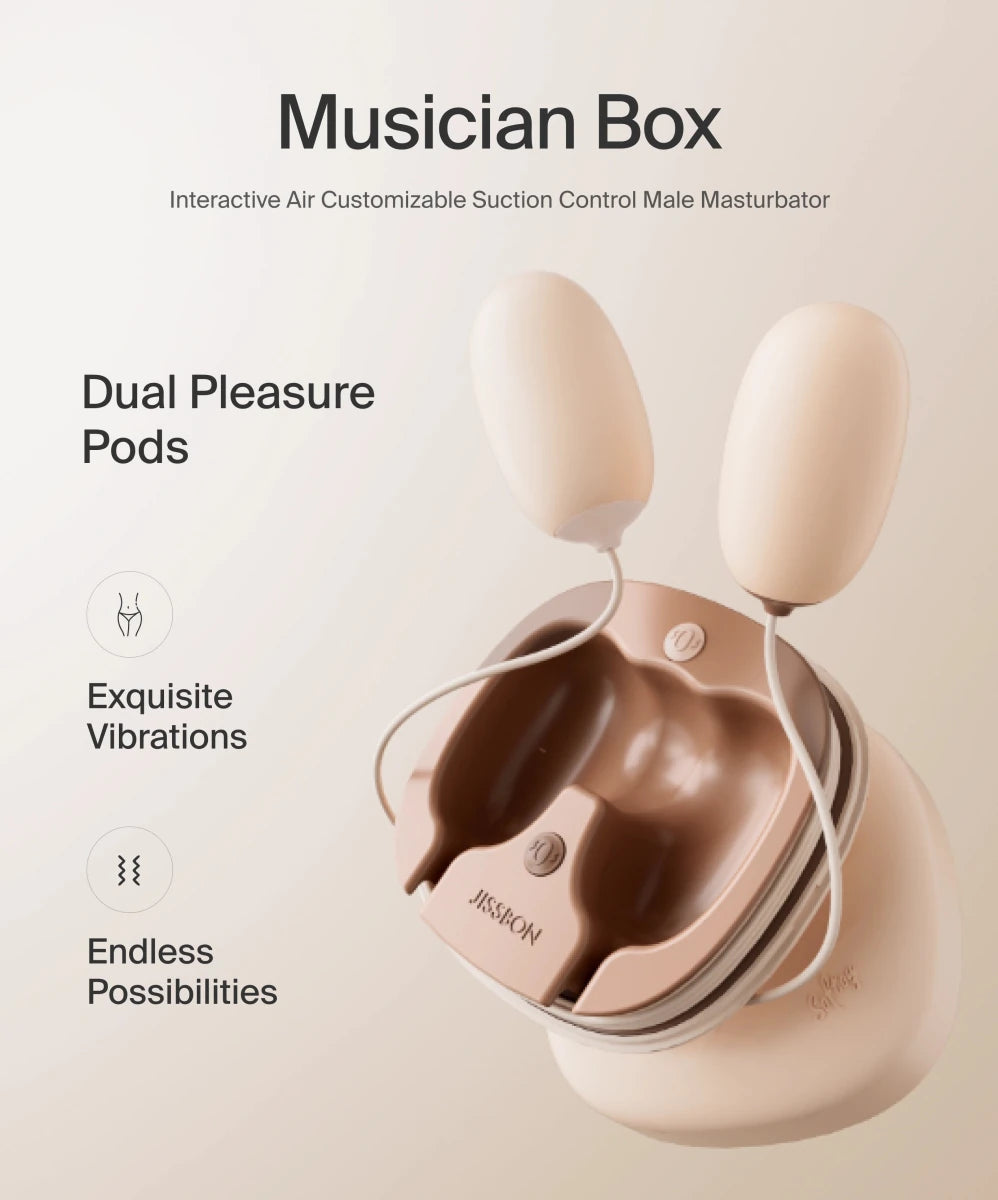
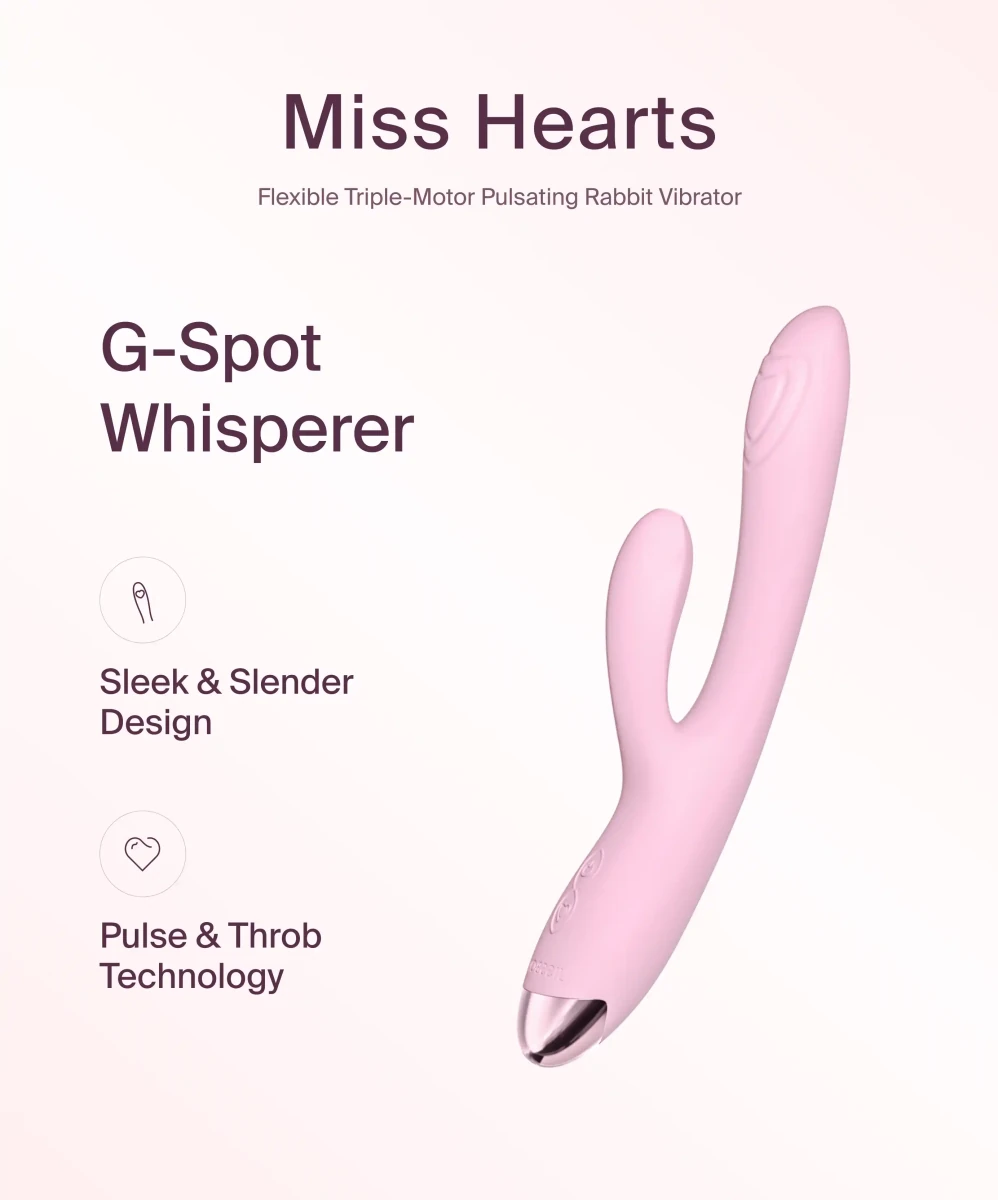
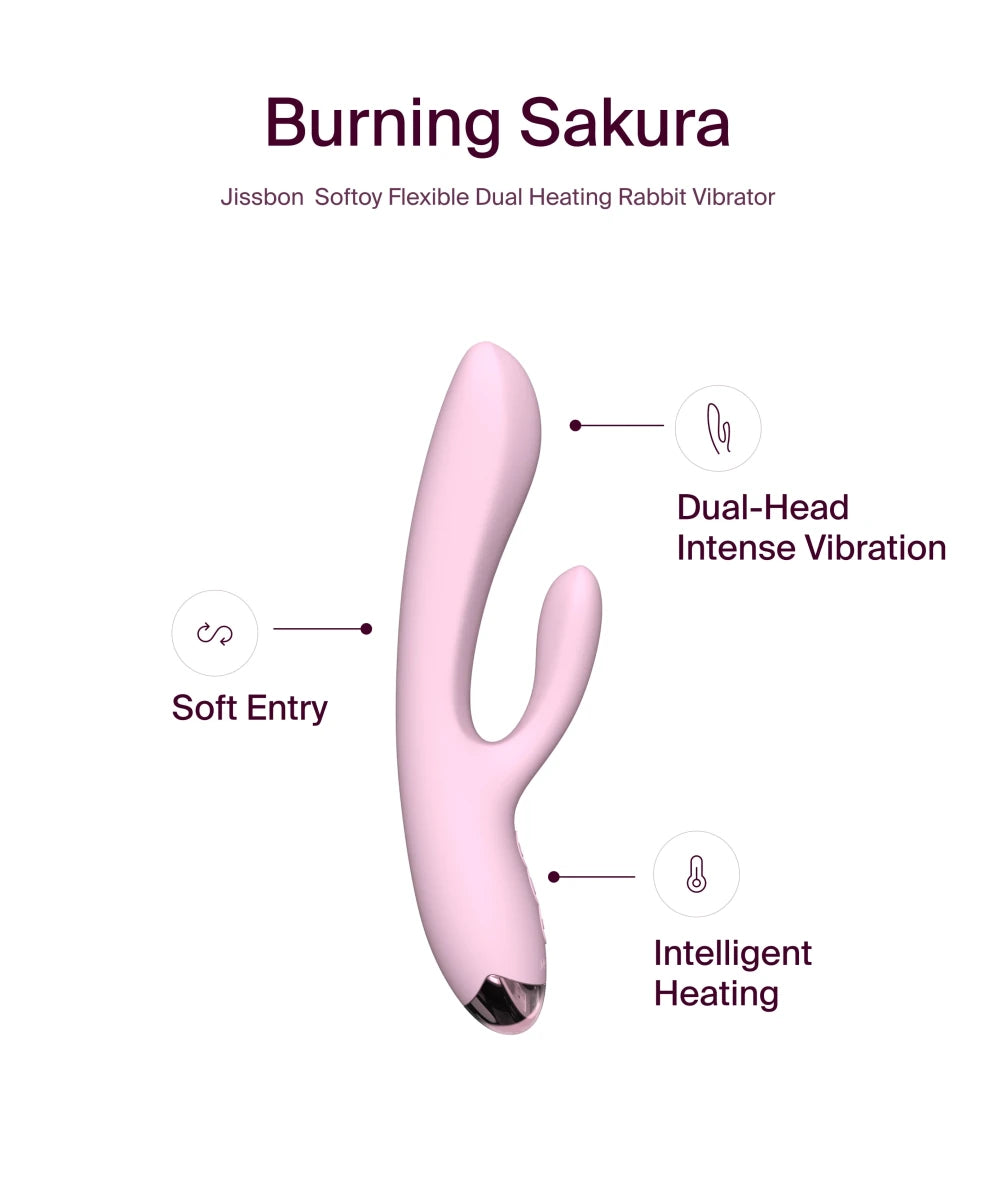
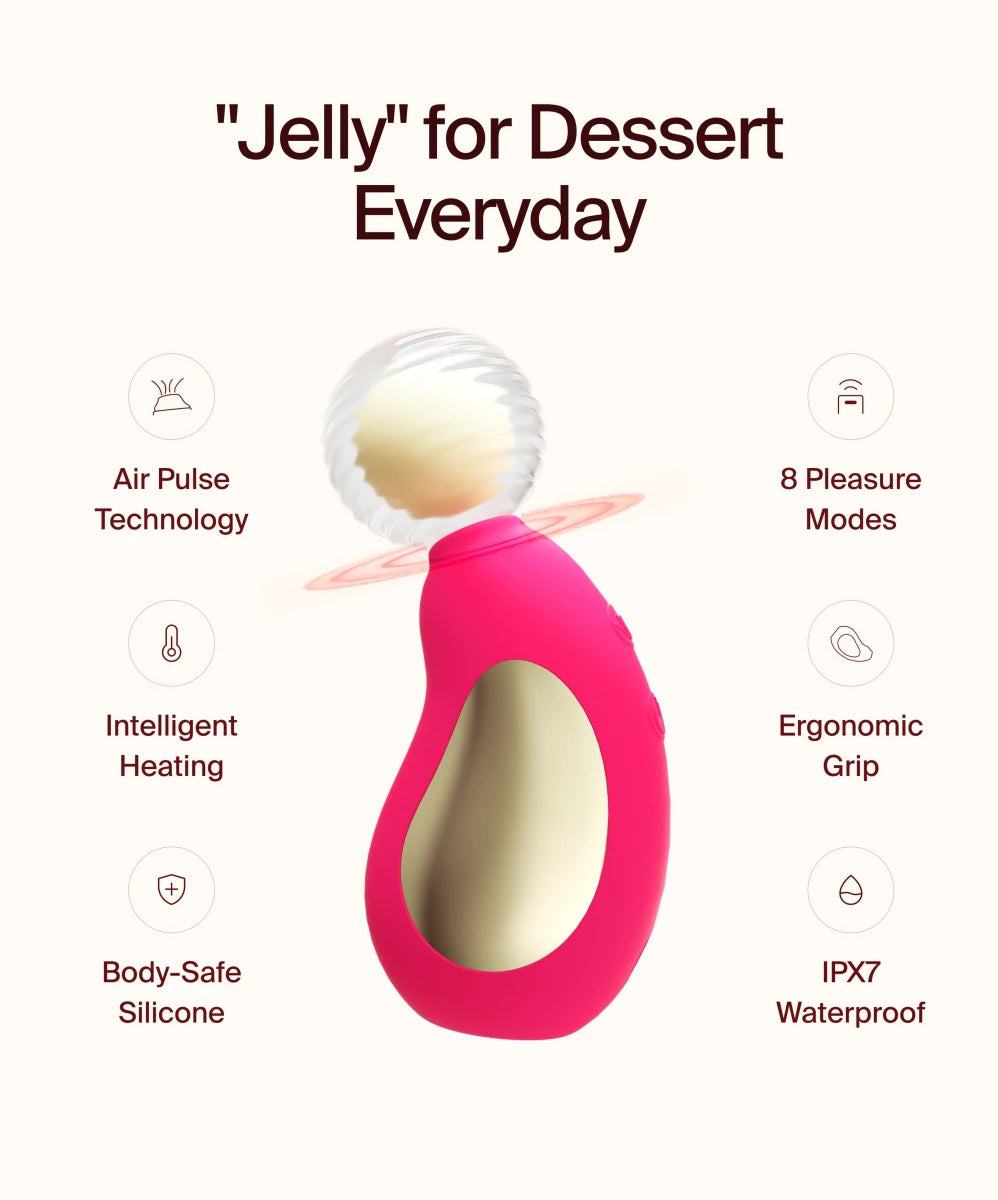
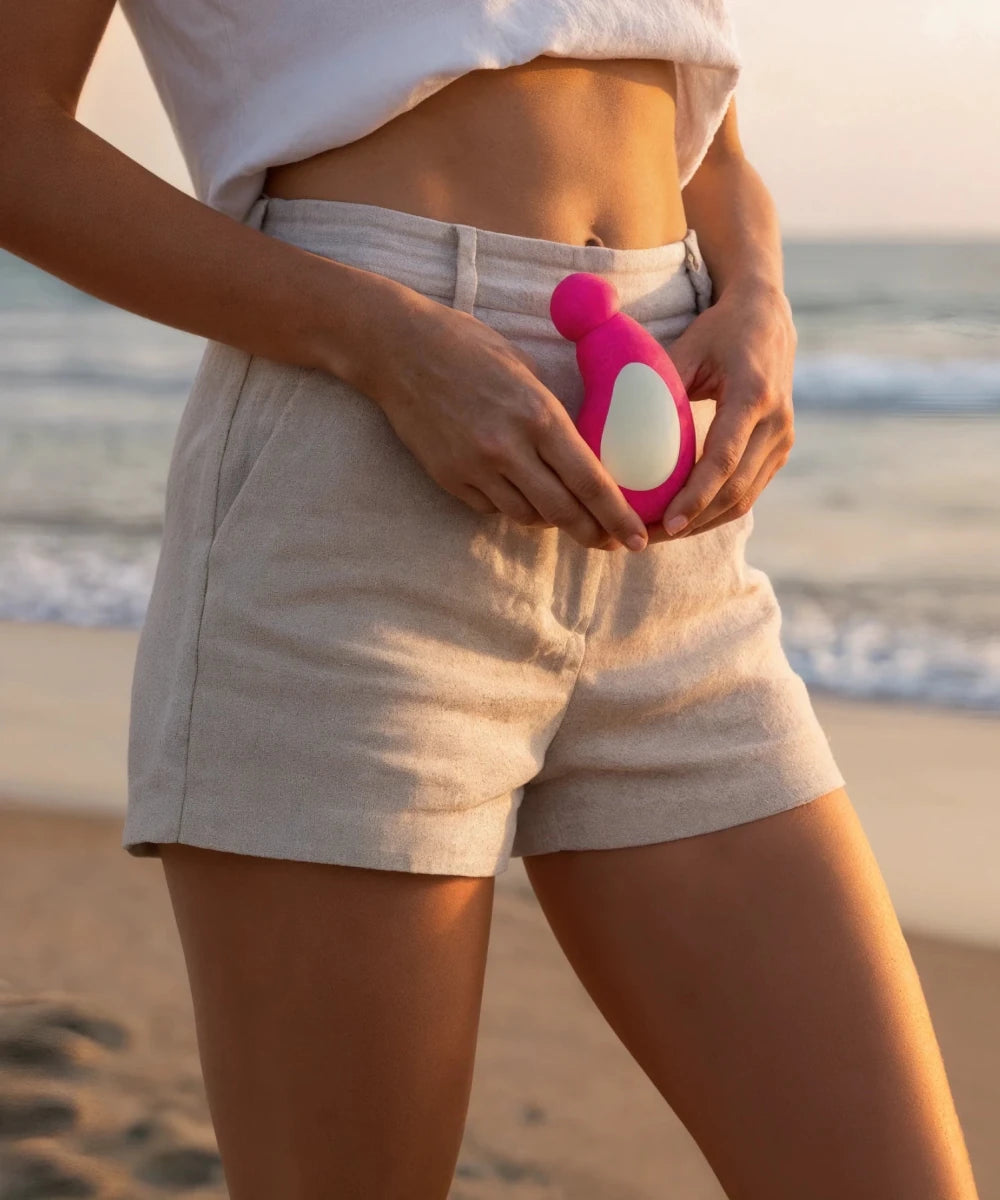
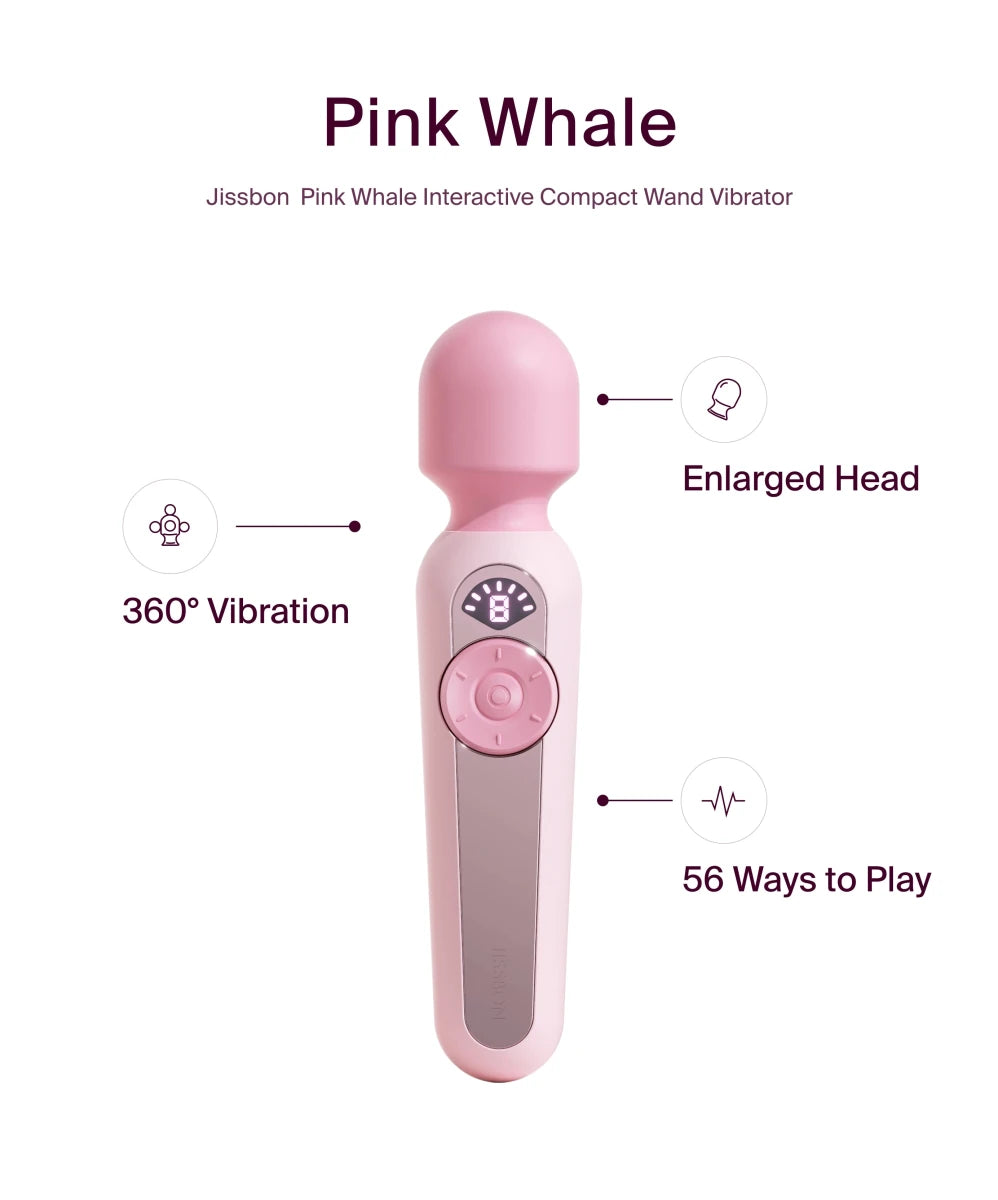
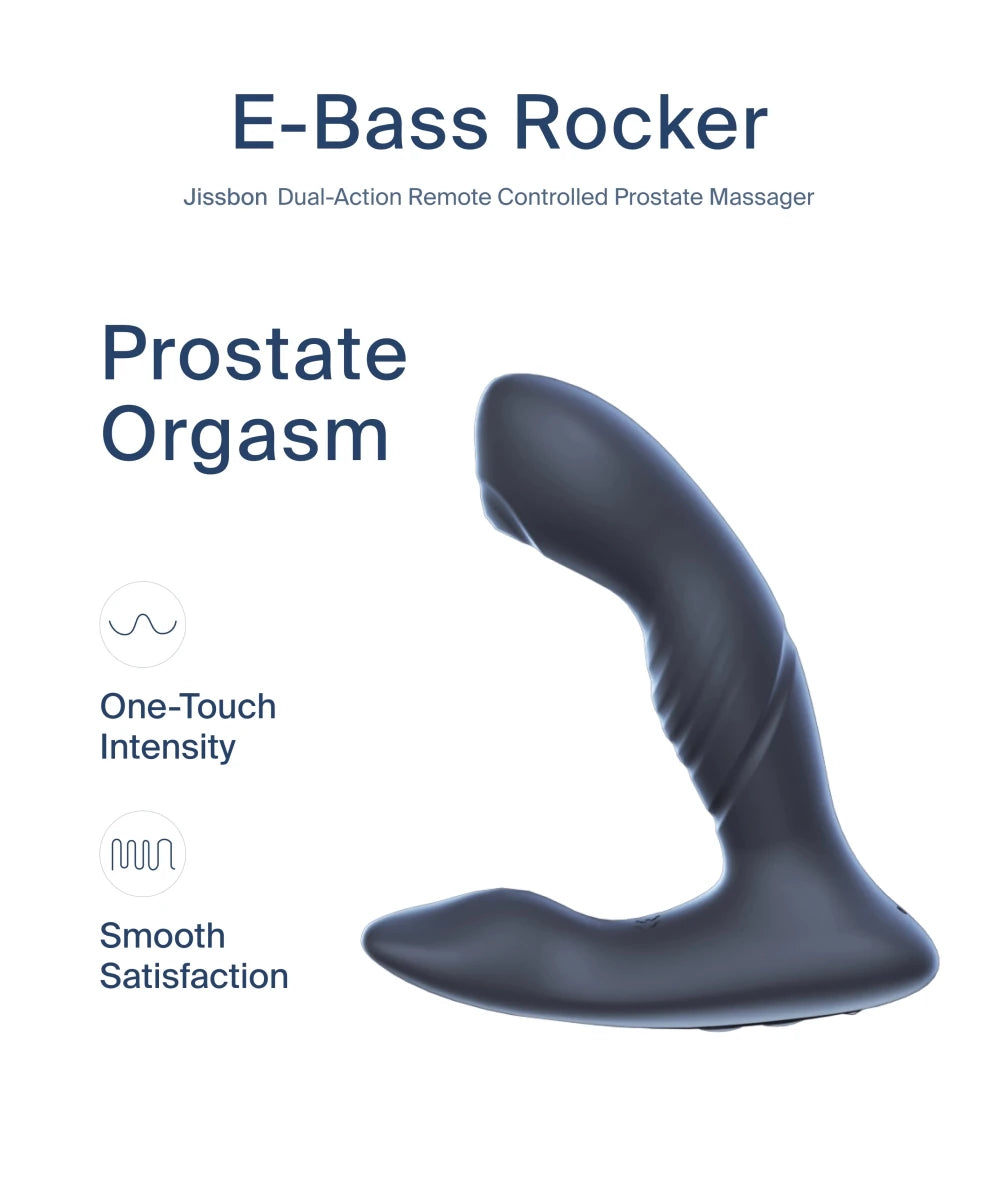
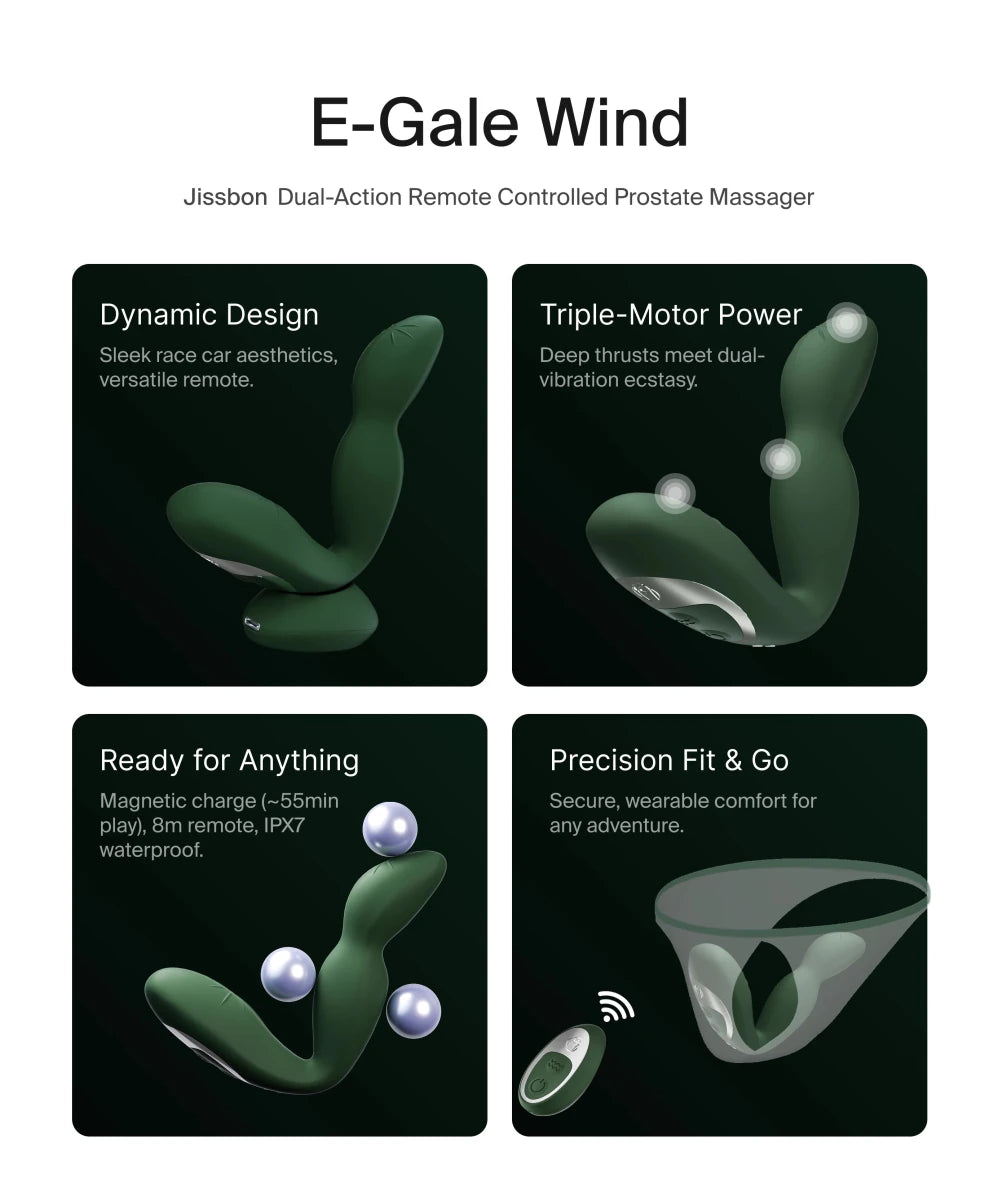
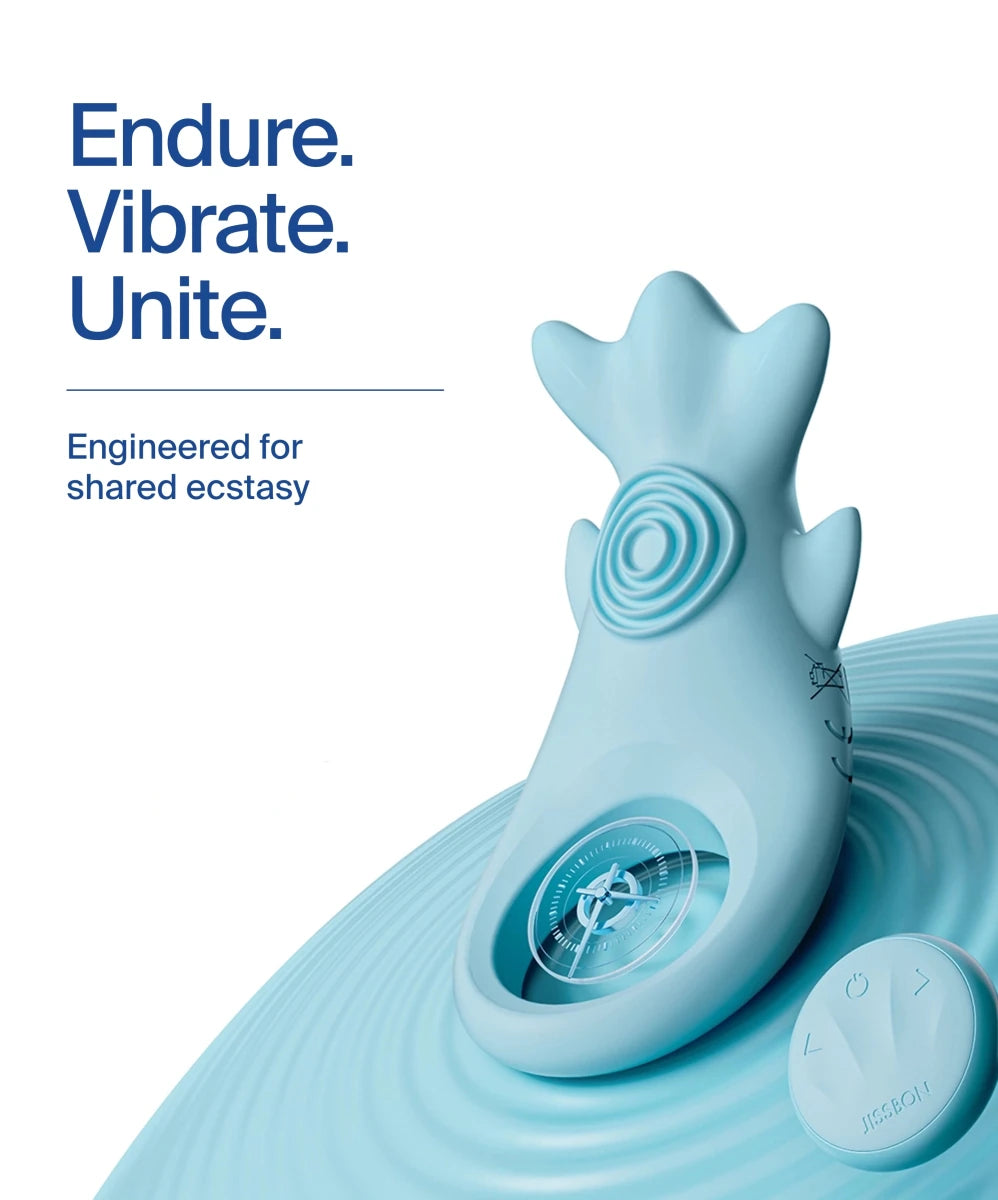
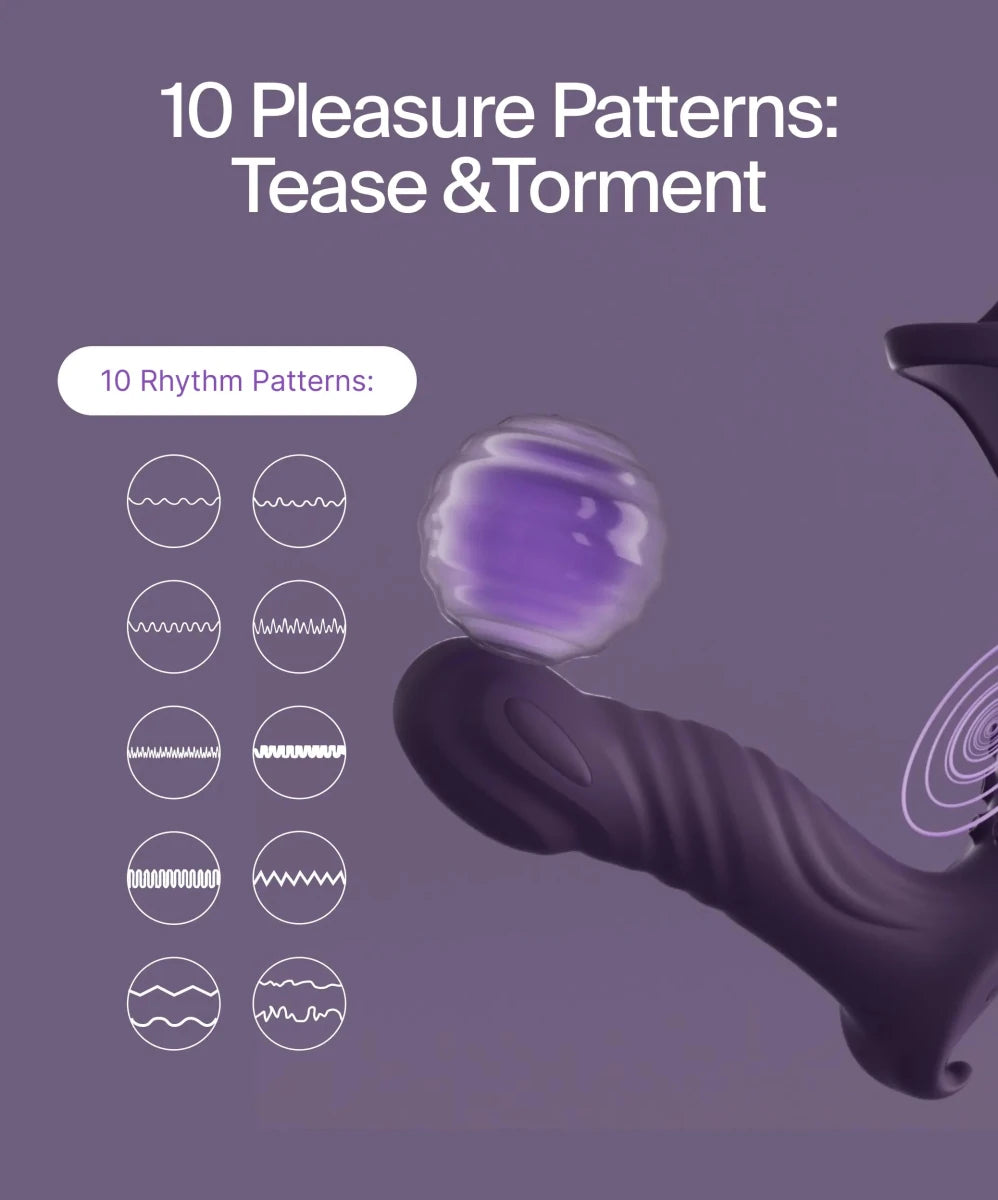
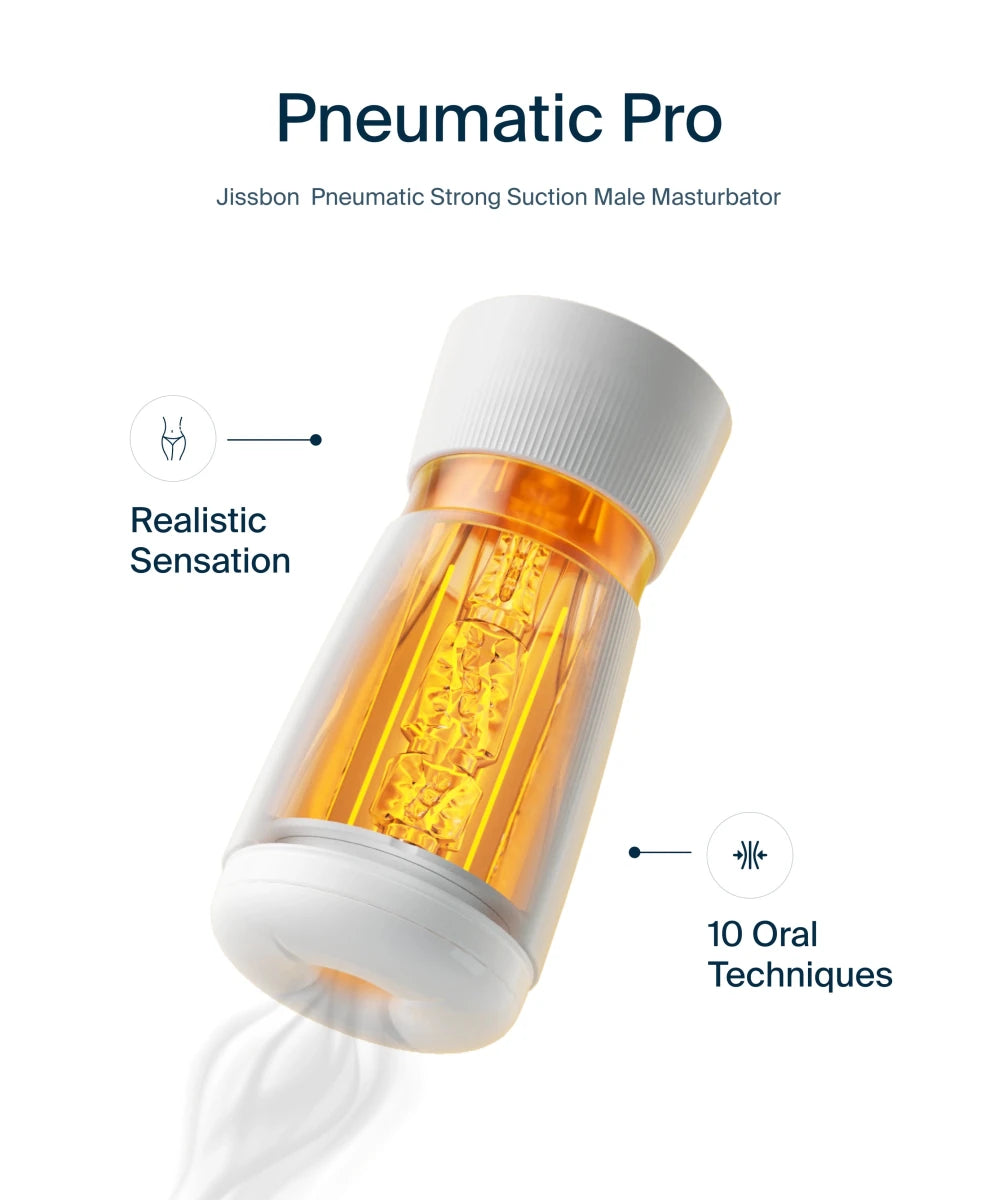
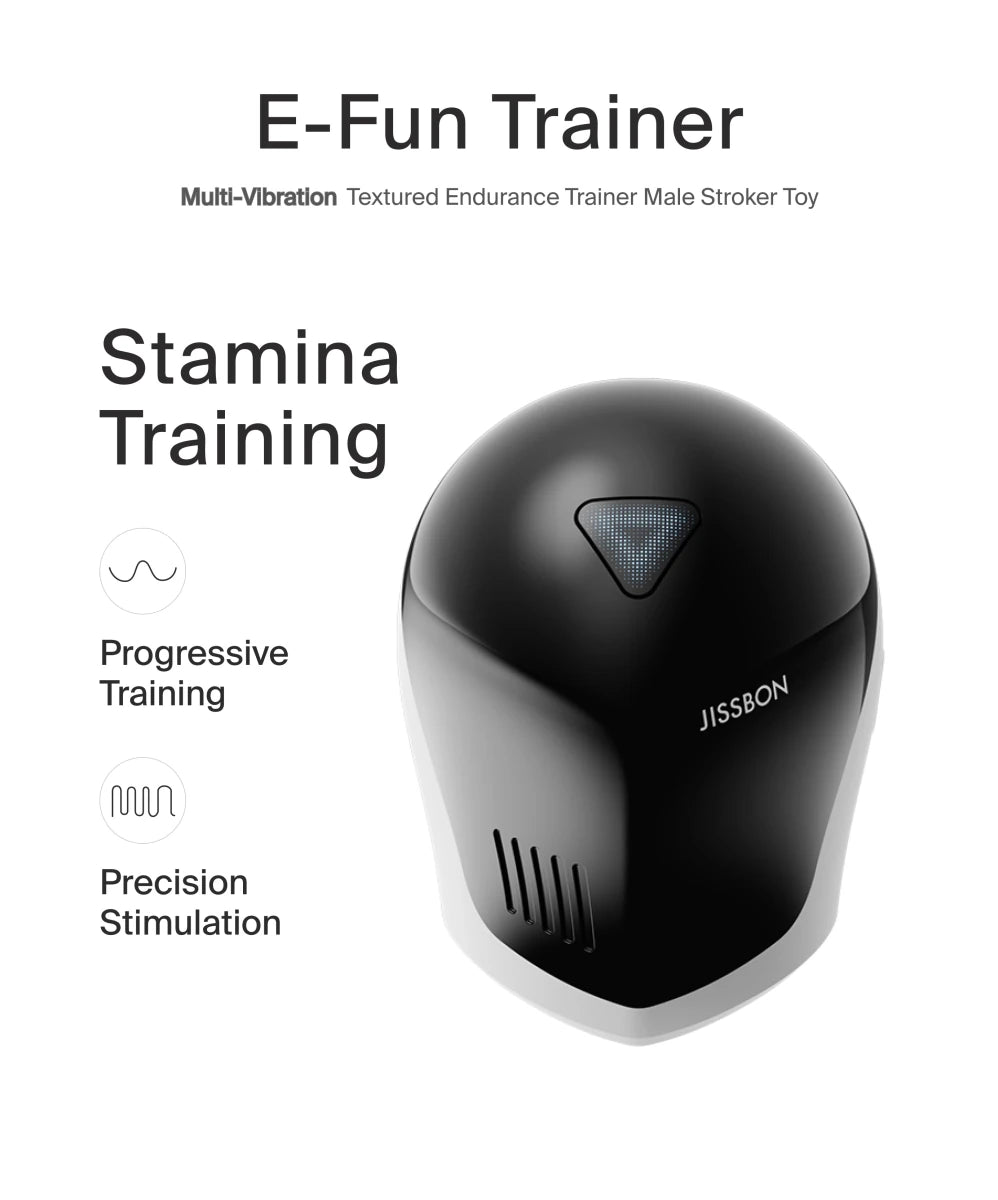
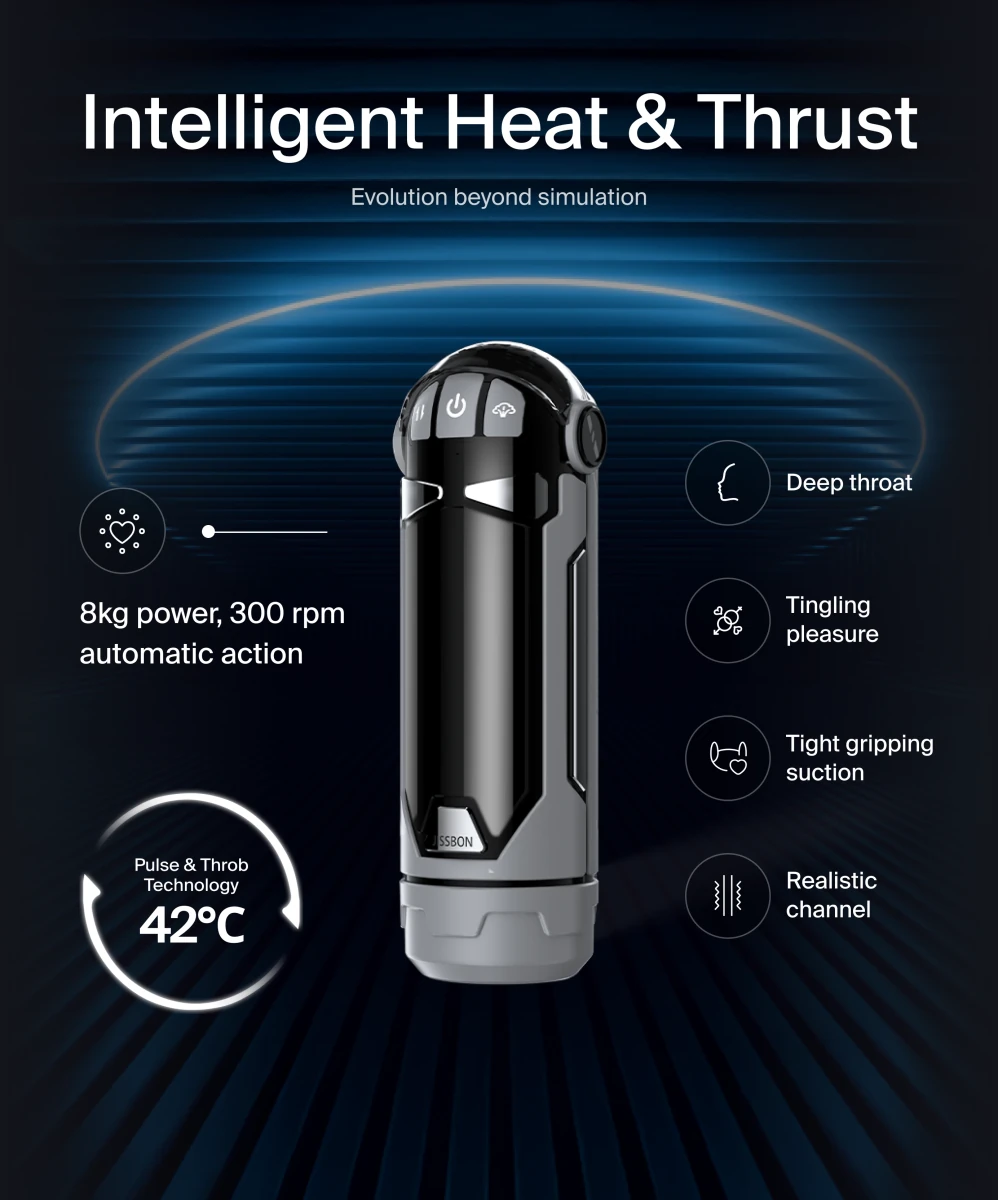
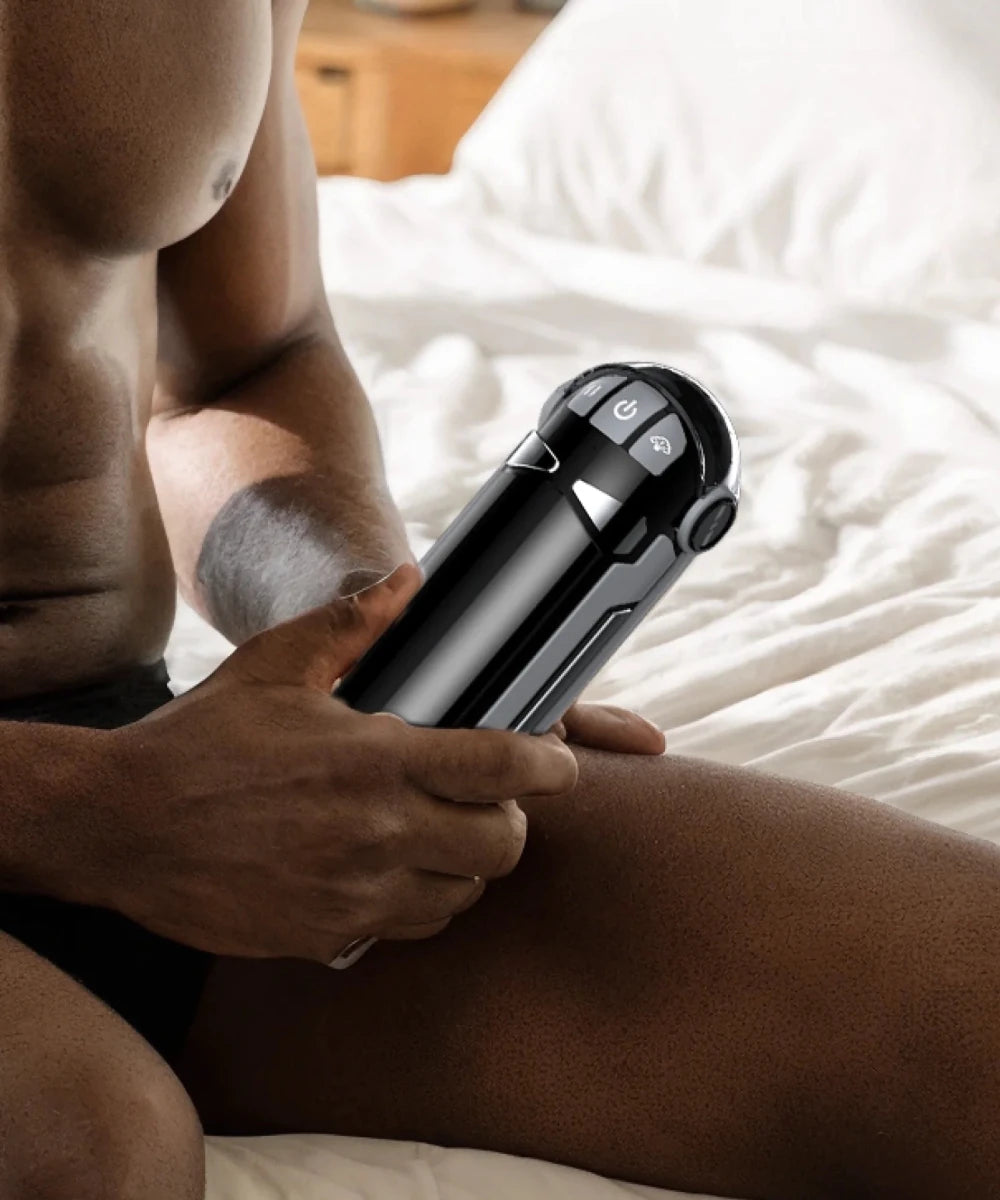
Ready to explore more body-safe products with the same quality focus you need for piercing jewelry? Browse collections at Jissbon—from clitoral vibrators to sex toys for couples—where material safety and customer satisfaction are prioritized.


Looking for something else?

Sex Positions from Behind: 8 Beyond Doggy Style
LEARN MORE
What Does a Vulva Taste Like? Facts & Myths Explained
LEARN MORE
Straddle Sex Position: 7 Variations & Tips
LEARN MORE
Mistress Slave Relationship in BDSM: Complete Guide
LEARN MORELooking for something else?

Sensual Domination: Guide to Affectionate Power Play
LEARN MORE
Best Prostate Massager for Beginners: Complete Guide
LEARN MORE
Dominant Sex Positions: 8 Power Positions & Tips
LEARN MOREYou may also like
20% off

20% off

20% off

20% off

20% off

20% off

Further reading
Automatic Male Masturbator vs Manual Stroker: Which Should You Buy?
11 Best Automatic Blowjob Machines for Men in 2026

Understanding Smoking Fetish: The Erotic Appeal of Cigarettes